
After using the Bf for about 2.5 months exclusively in JPEG mode I decided it was time to try it with RAW files. With this kind of endeavor comes the need to critically evaluate my use of the software and its results. The magic with RAW is the software conversion and photographer’s processing. When making RAW conversions of photos, we begin to get into the nuance of color gradations/tonality, detail, etc. which are things taken for granted when shooting with JPEG output from our cameras.
Each piece of software approaches their defaults differently. I have found that Capture One tends to be fairly benign in this regard, offering little enhancements (for lack of better word) to the image based on their conversation of RAW files, allowing the user to tweak every aspect of the photo “from scratch” so to speak. However, it doesn’t mean other software such as Photomator, for example, is unable to produce as beautiful a result. To be truthful, I found that after this endeavor, the differences were really too subtle to discuss once it became clearer what was happening during the conversion process by each piece of software. I found the easiest things to discern between the images of different RAW converters was brightness of the image, tonal gradations, and highlights.
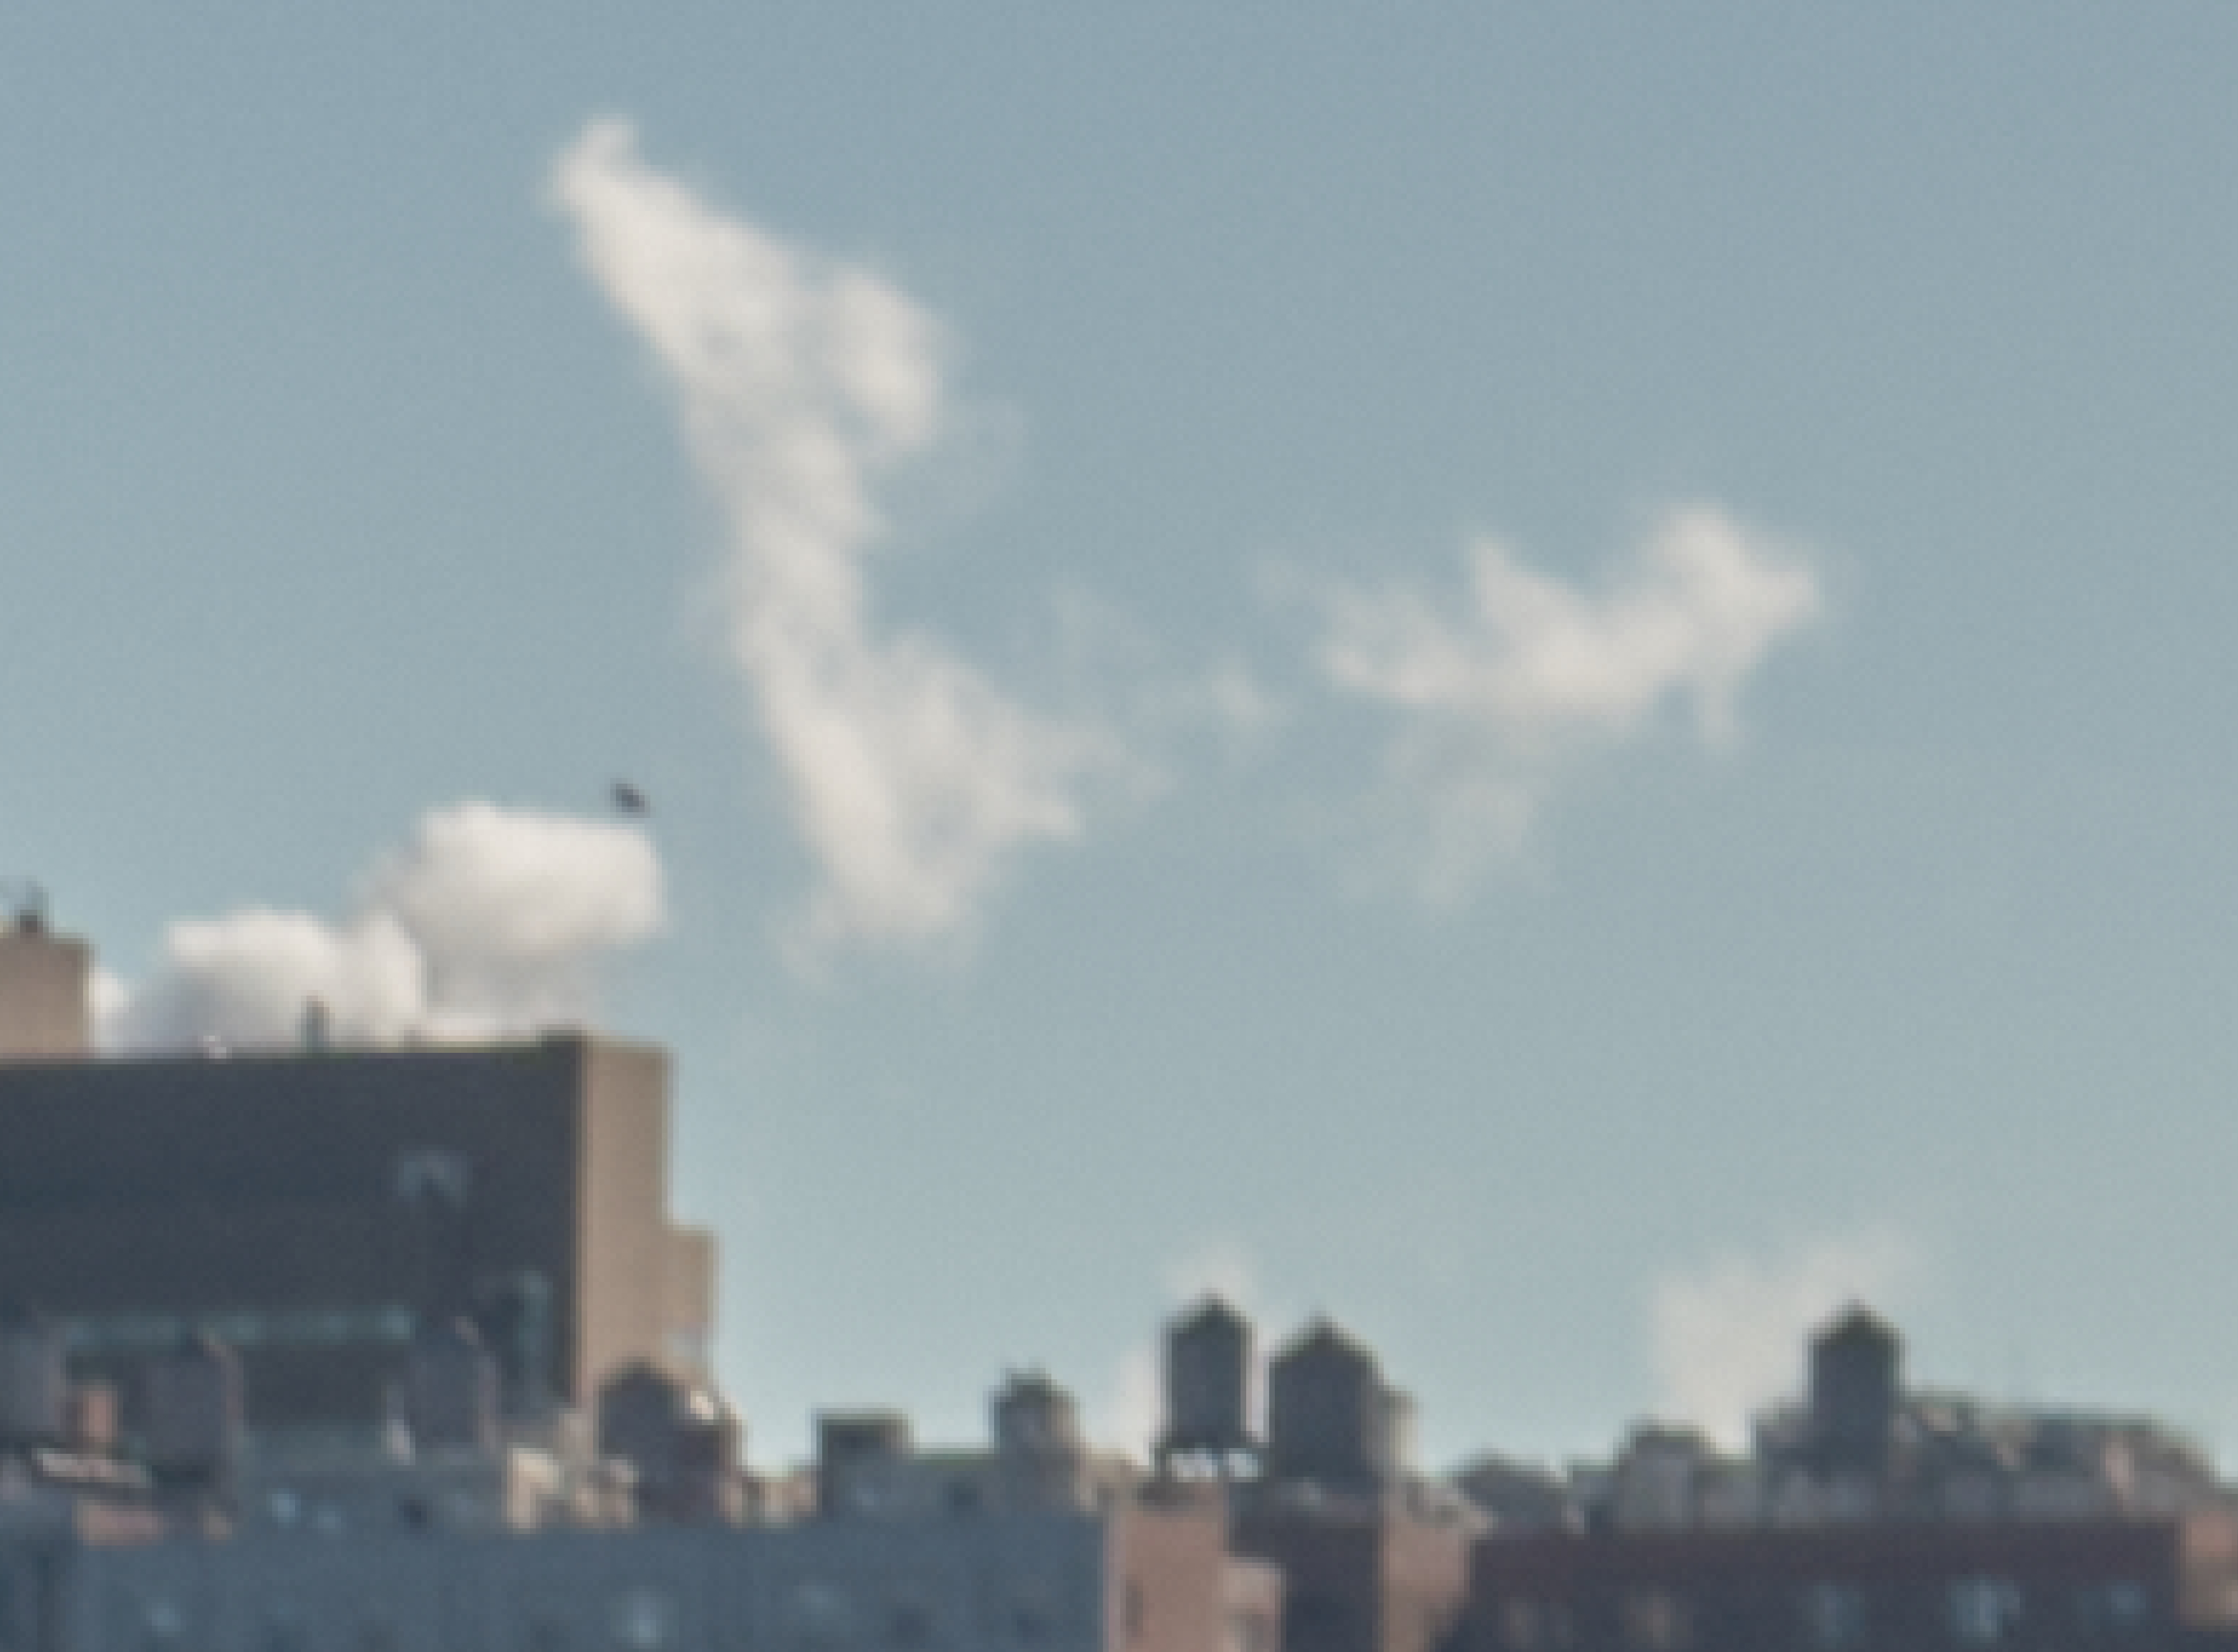
Capture One converted RAW. Note the cloud structure, highlights and color gradations around them. This photo is all default settings with highlights reduced to minimum and slight RGB level adjustment to match the overall curve in both of the softwares compared.
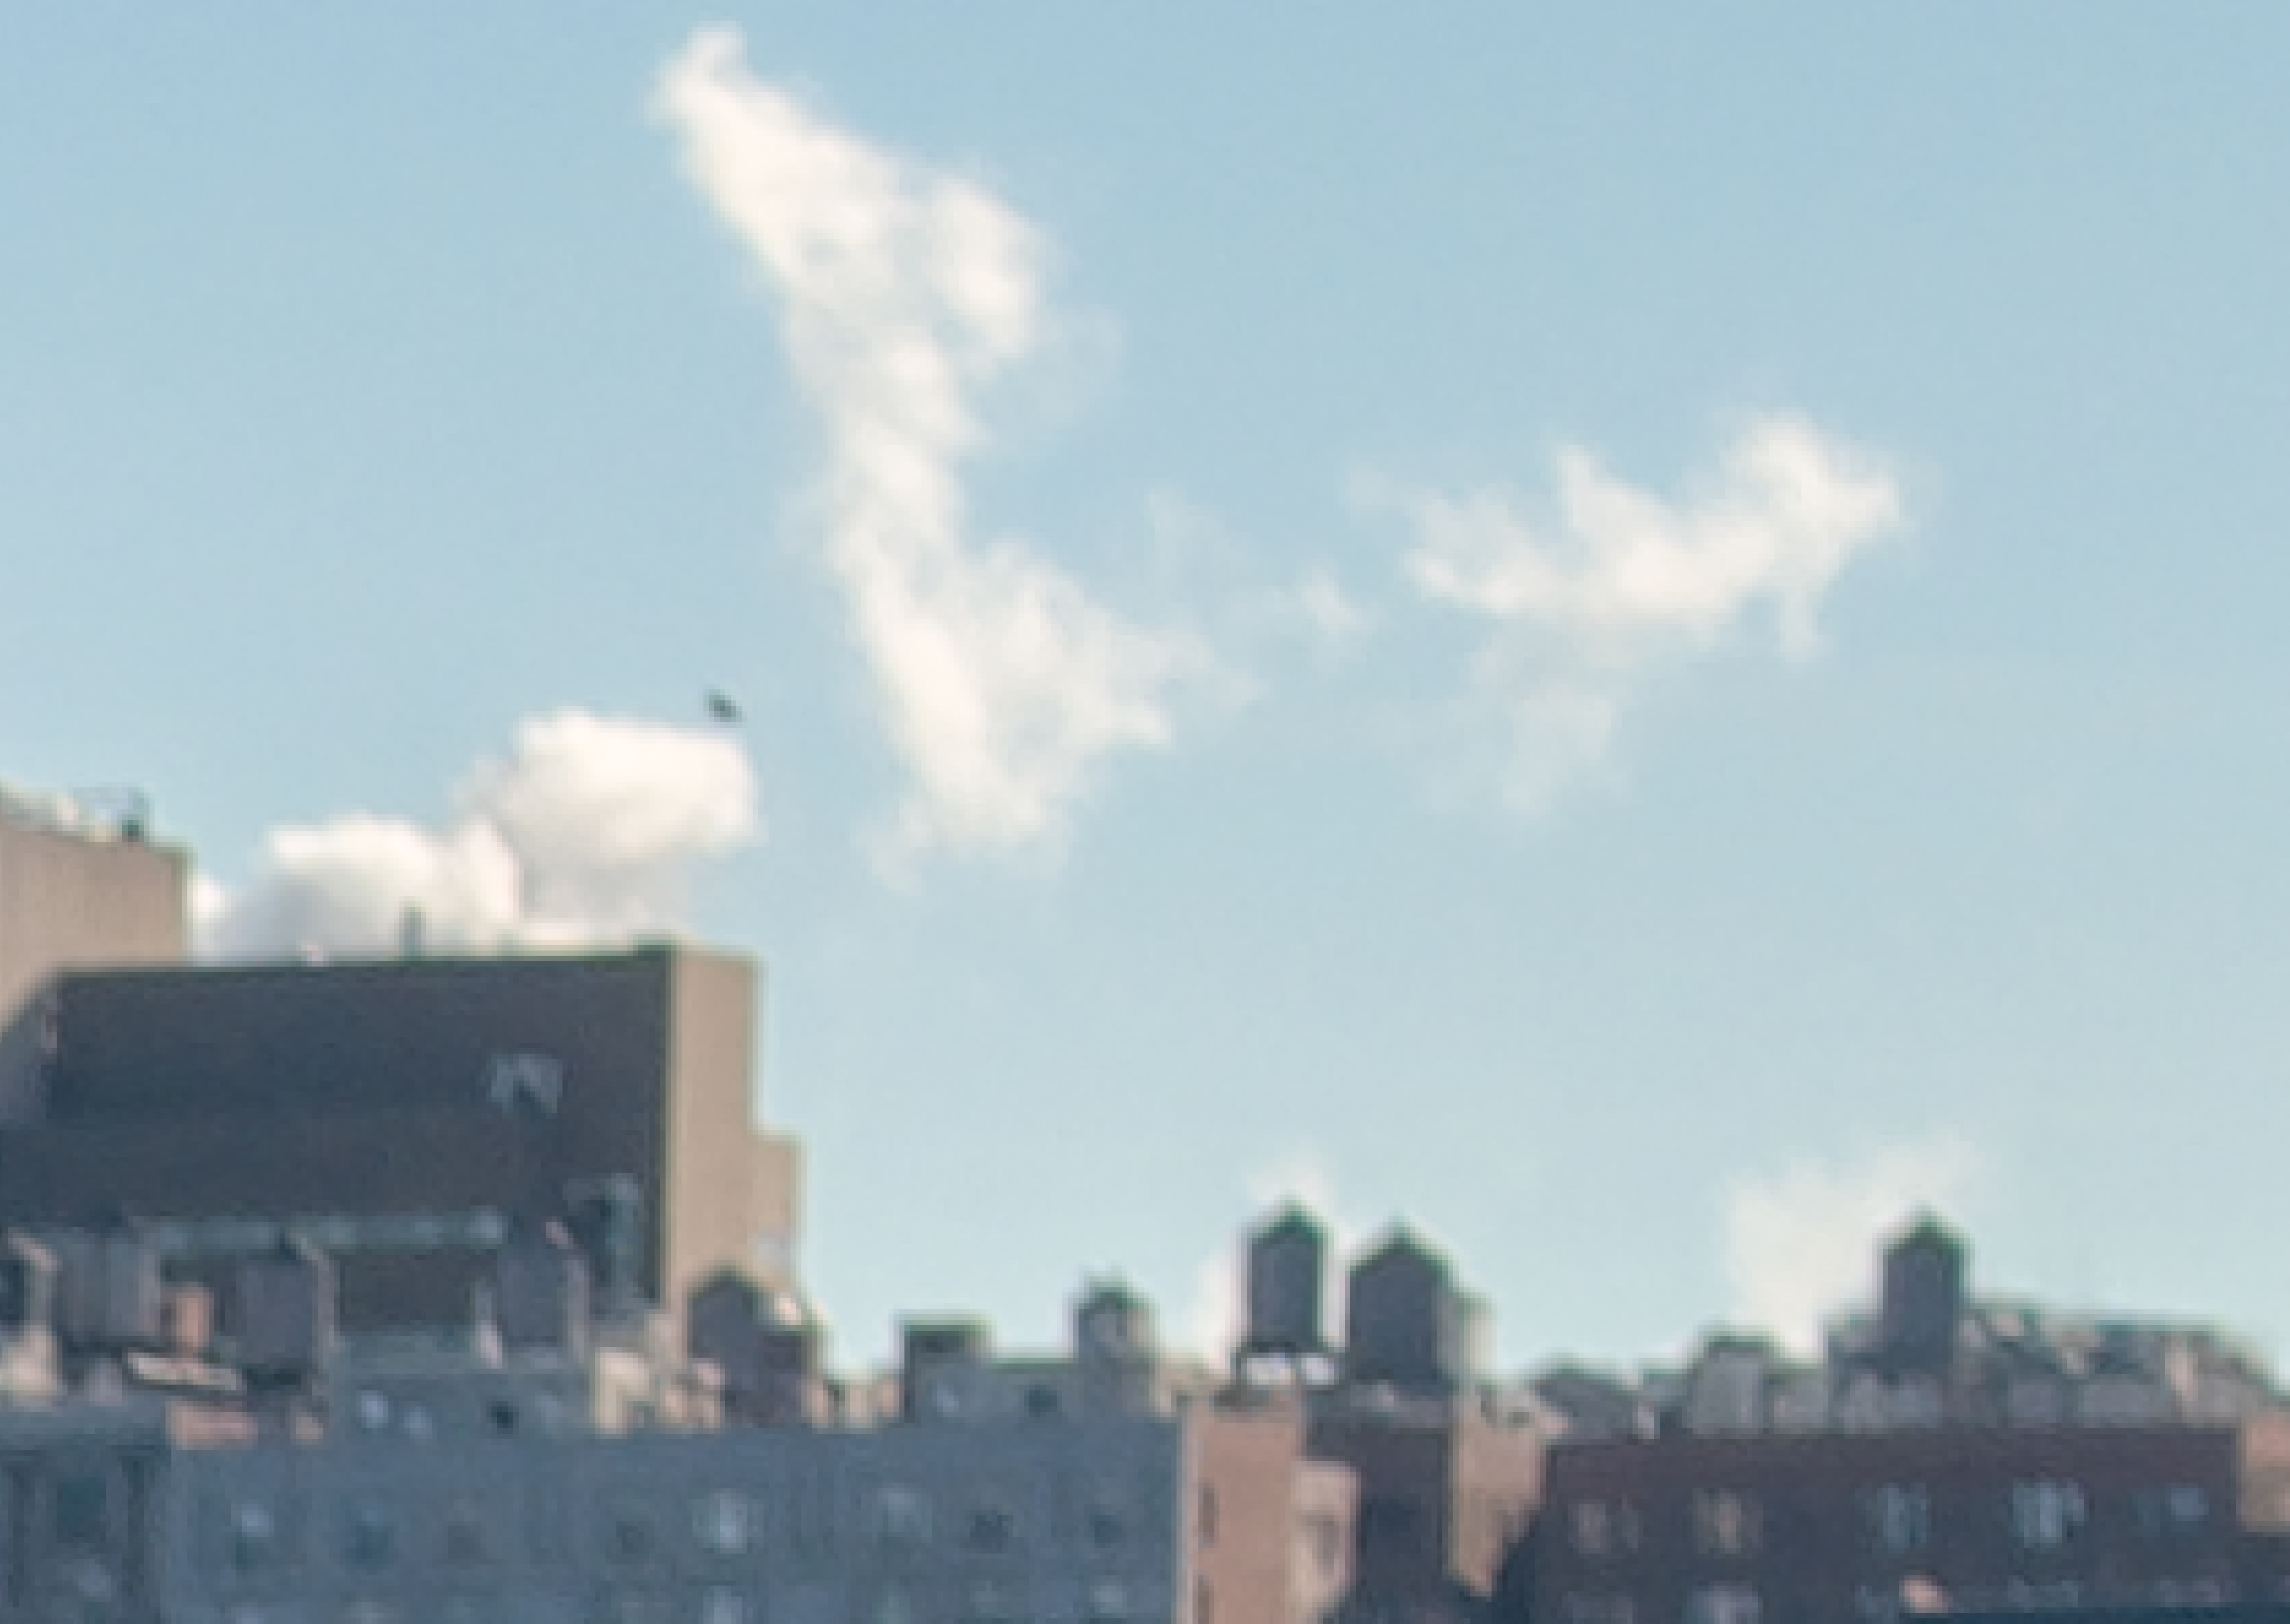
Photomator converted RAW. Again note the cloud structure, color and highlight differentiations from the above image. This screen shot is of the same photo using default settings with highlghts reduced to minimum like the C1 software.
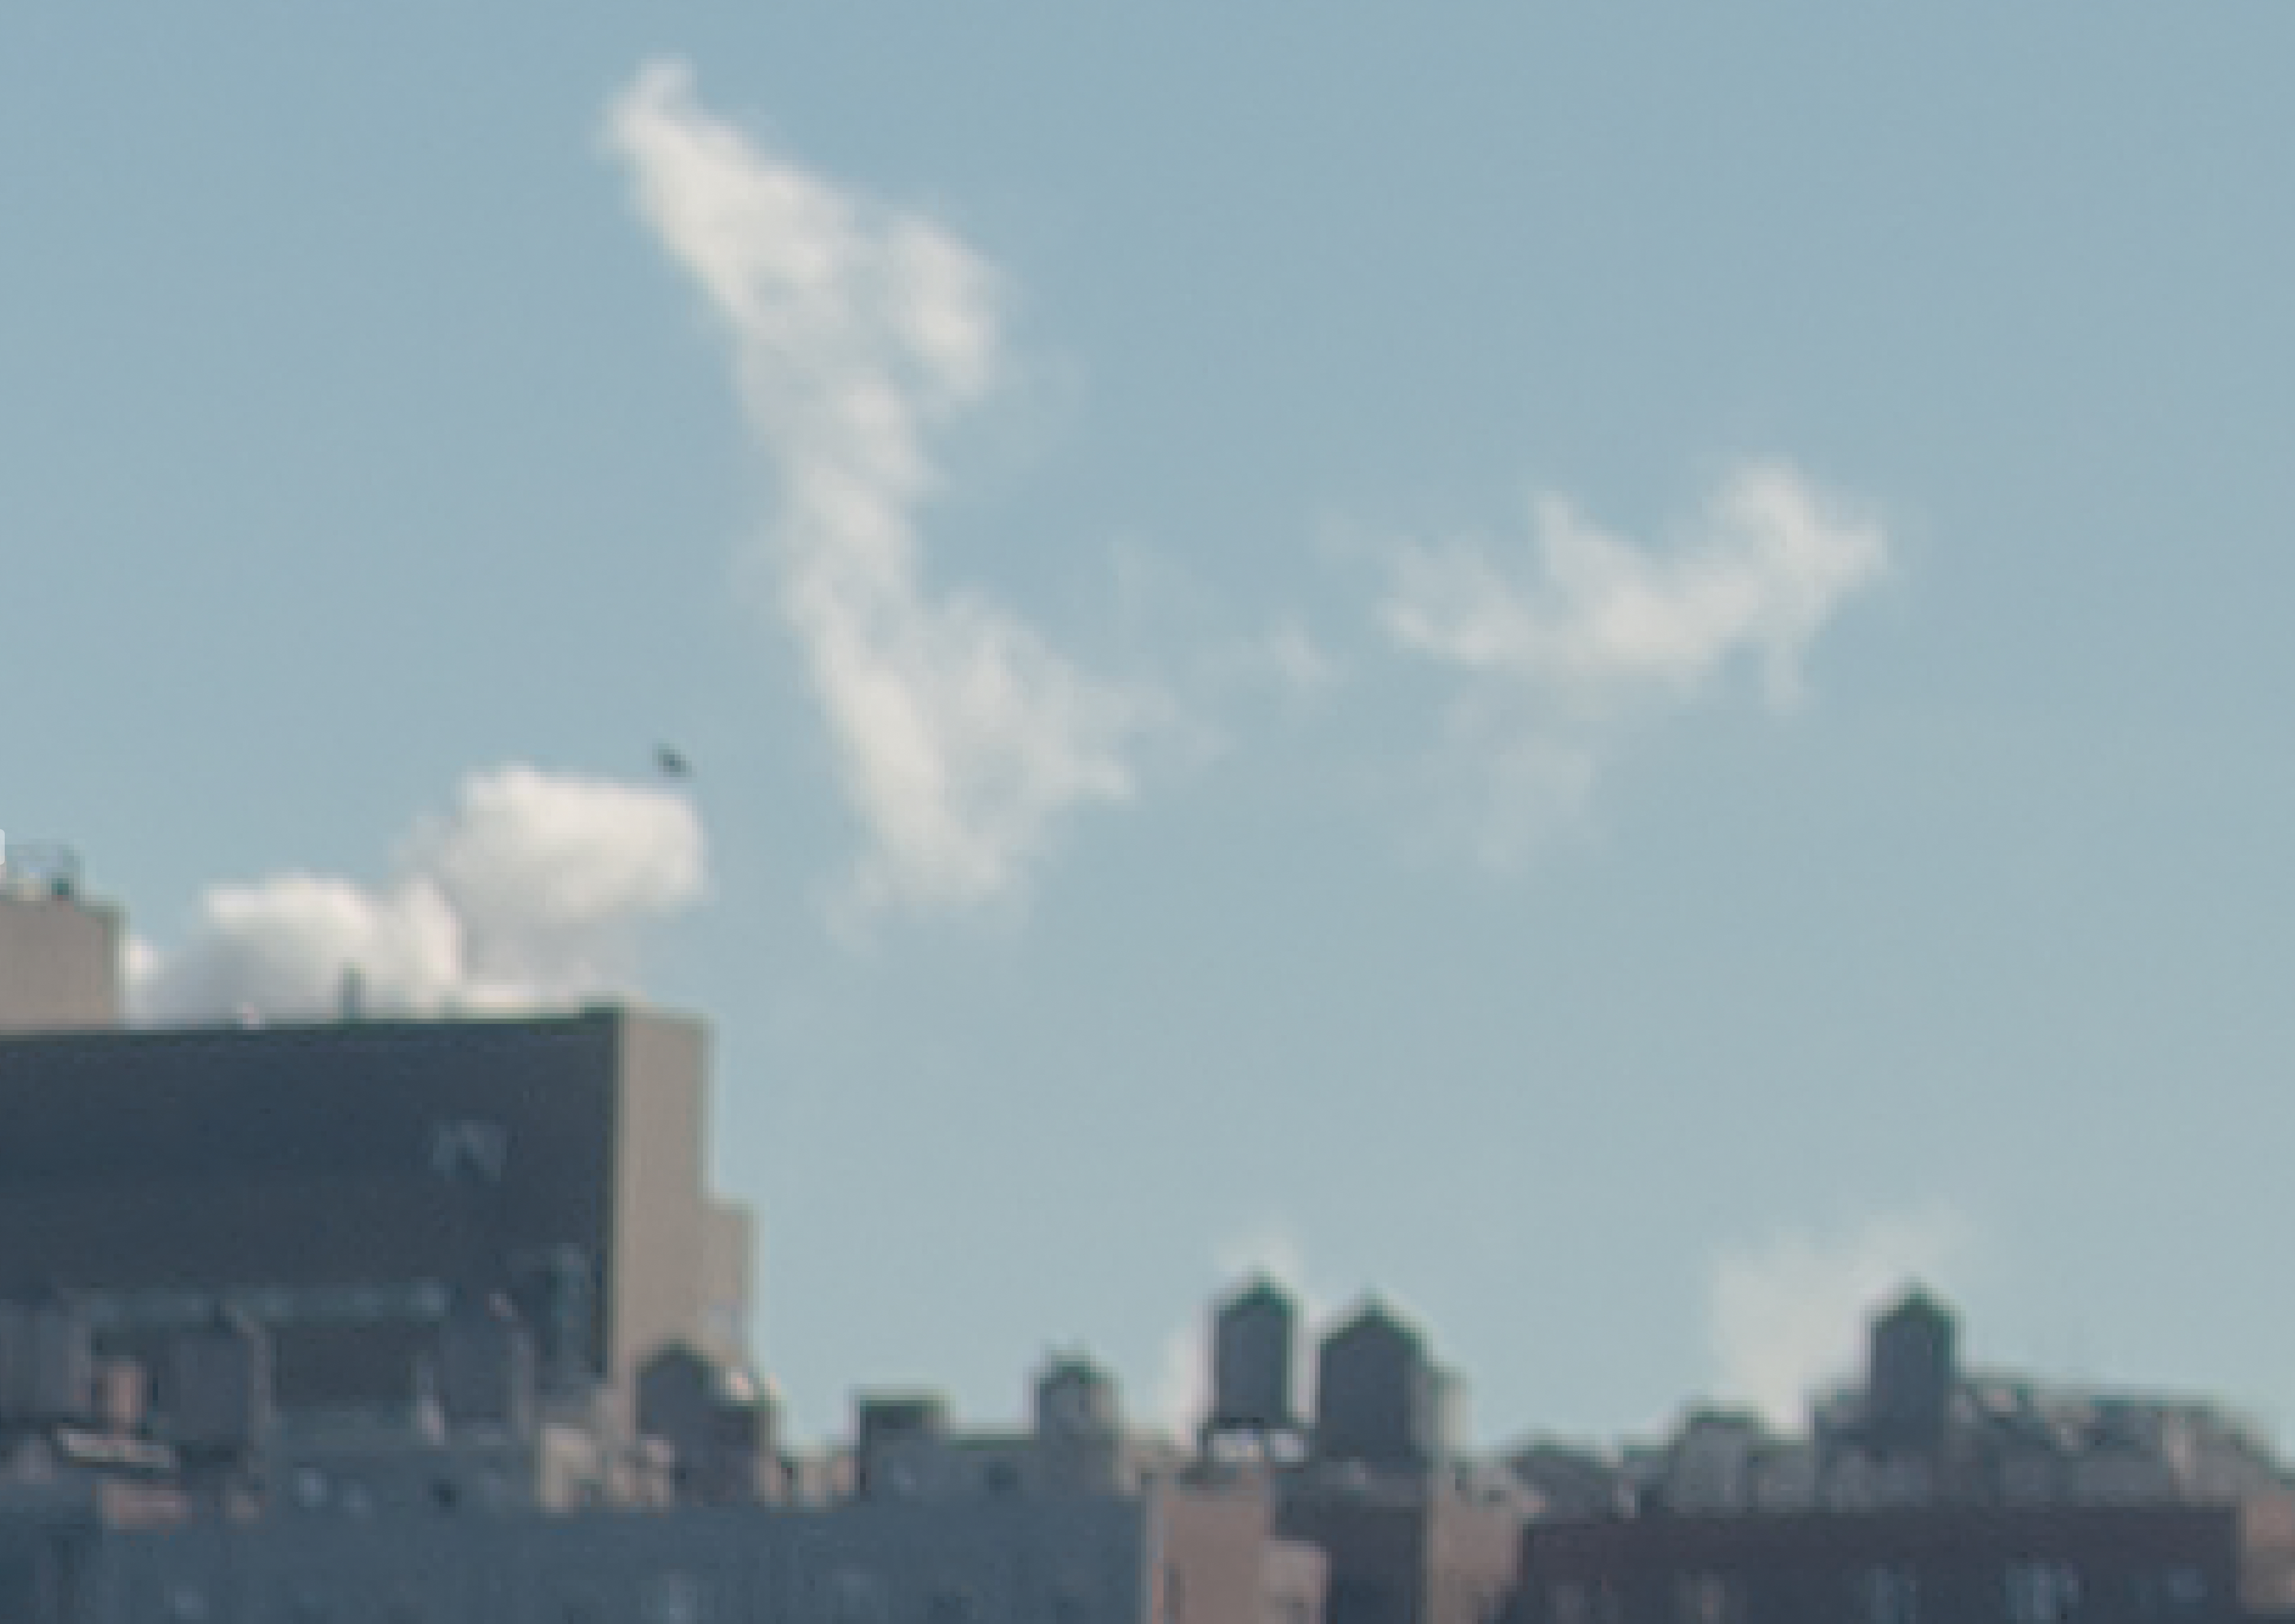
This last is the Photomator conversion with the texture setting reduced to the -85 setting (give or take 2 percentages). Note the cloud structure changes dramatically. It becomes softer with less contrast between the whites. The color also changes and the ability to align with the C1 results.
The texture setting in Photomator is quite heavy in its application to RAW photos. With its reduction, it handles the subtleties of the highlights and color gradations with more finesse.
Does any of this mean anything in real practice? You be the judge.
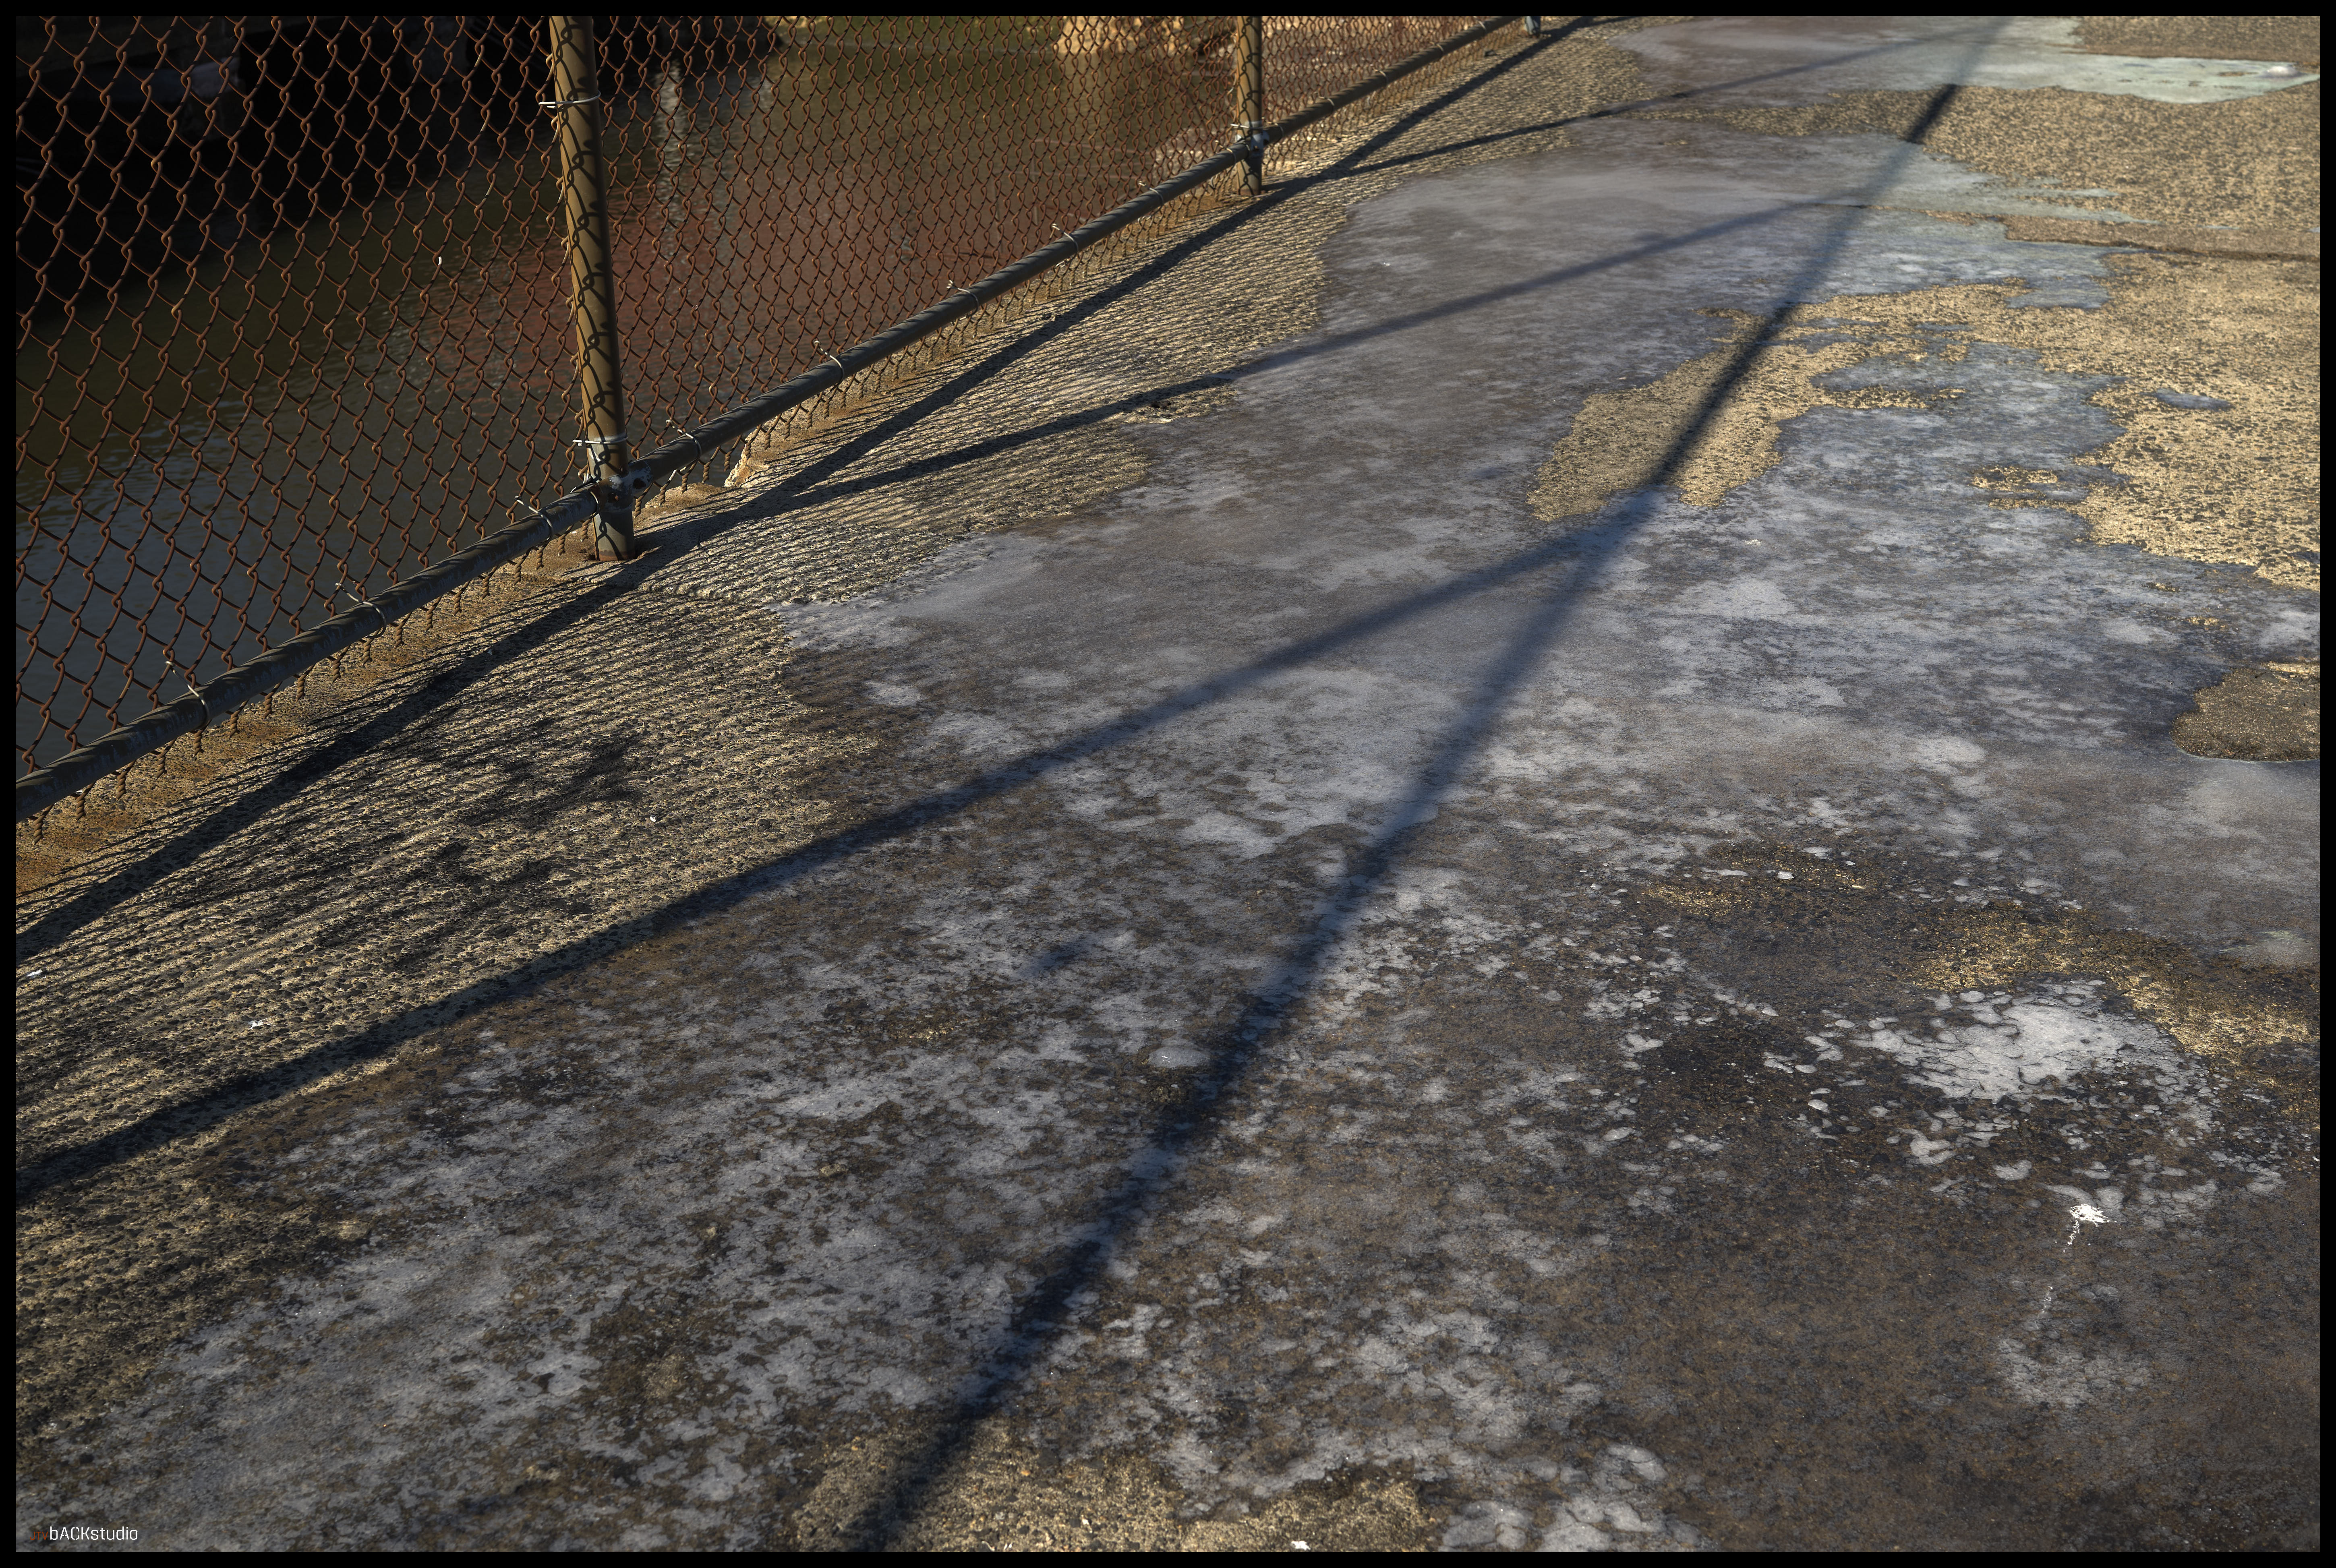
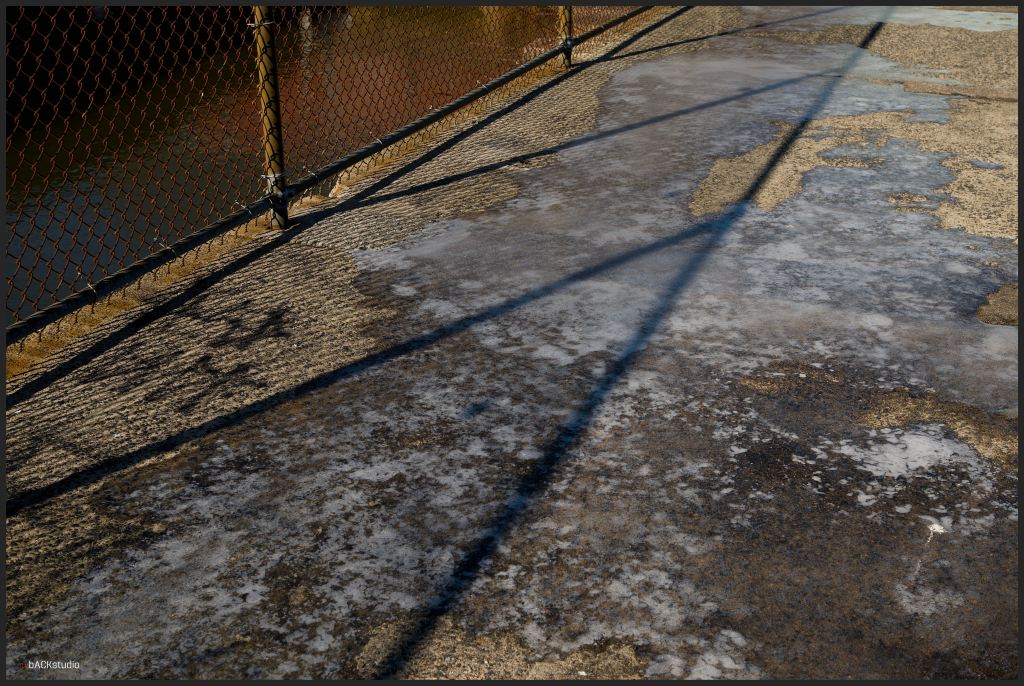
The left photo is the processed by C1 and the right by Photomator. The color in the fence shadows is what I find most notable, even as other parameters were altered to make the photos appear as close as possible. The color of the yellows in the C1 photo are more pronounced. Again, each photo was processed without trying to alter the snapshot significantly from the original file taken by the camera. Therefore, with color adjustments, I’m sure I could match the concrete colors with more precision, but the purpose of this exercise is to indicate differences in simple conversions and adjustments. In other words, if you need a quick JPEG tweaked to your liking, which software would you jump to with this camera and lens?
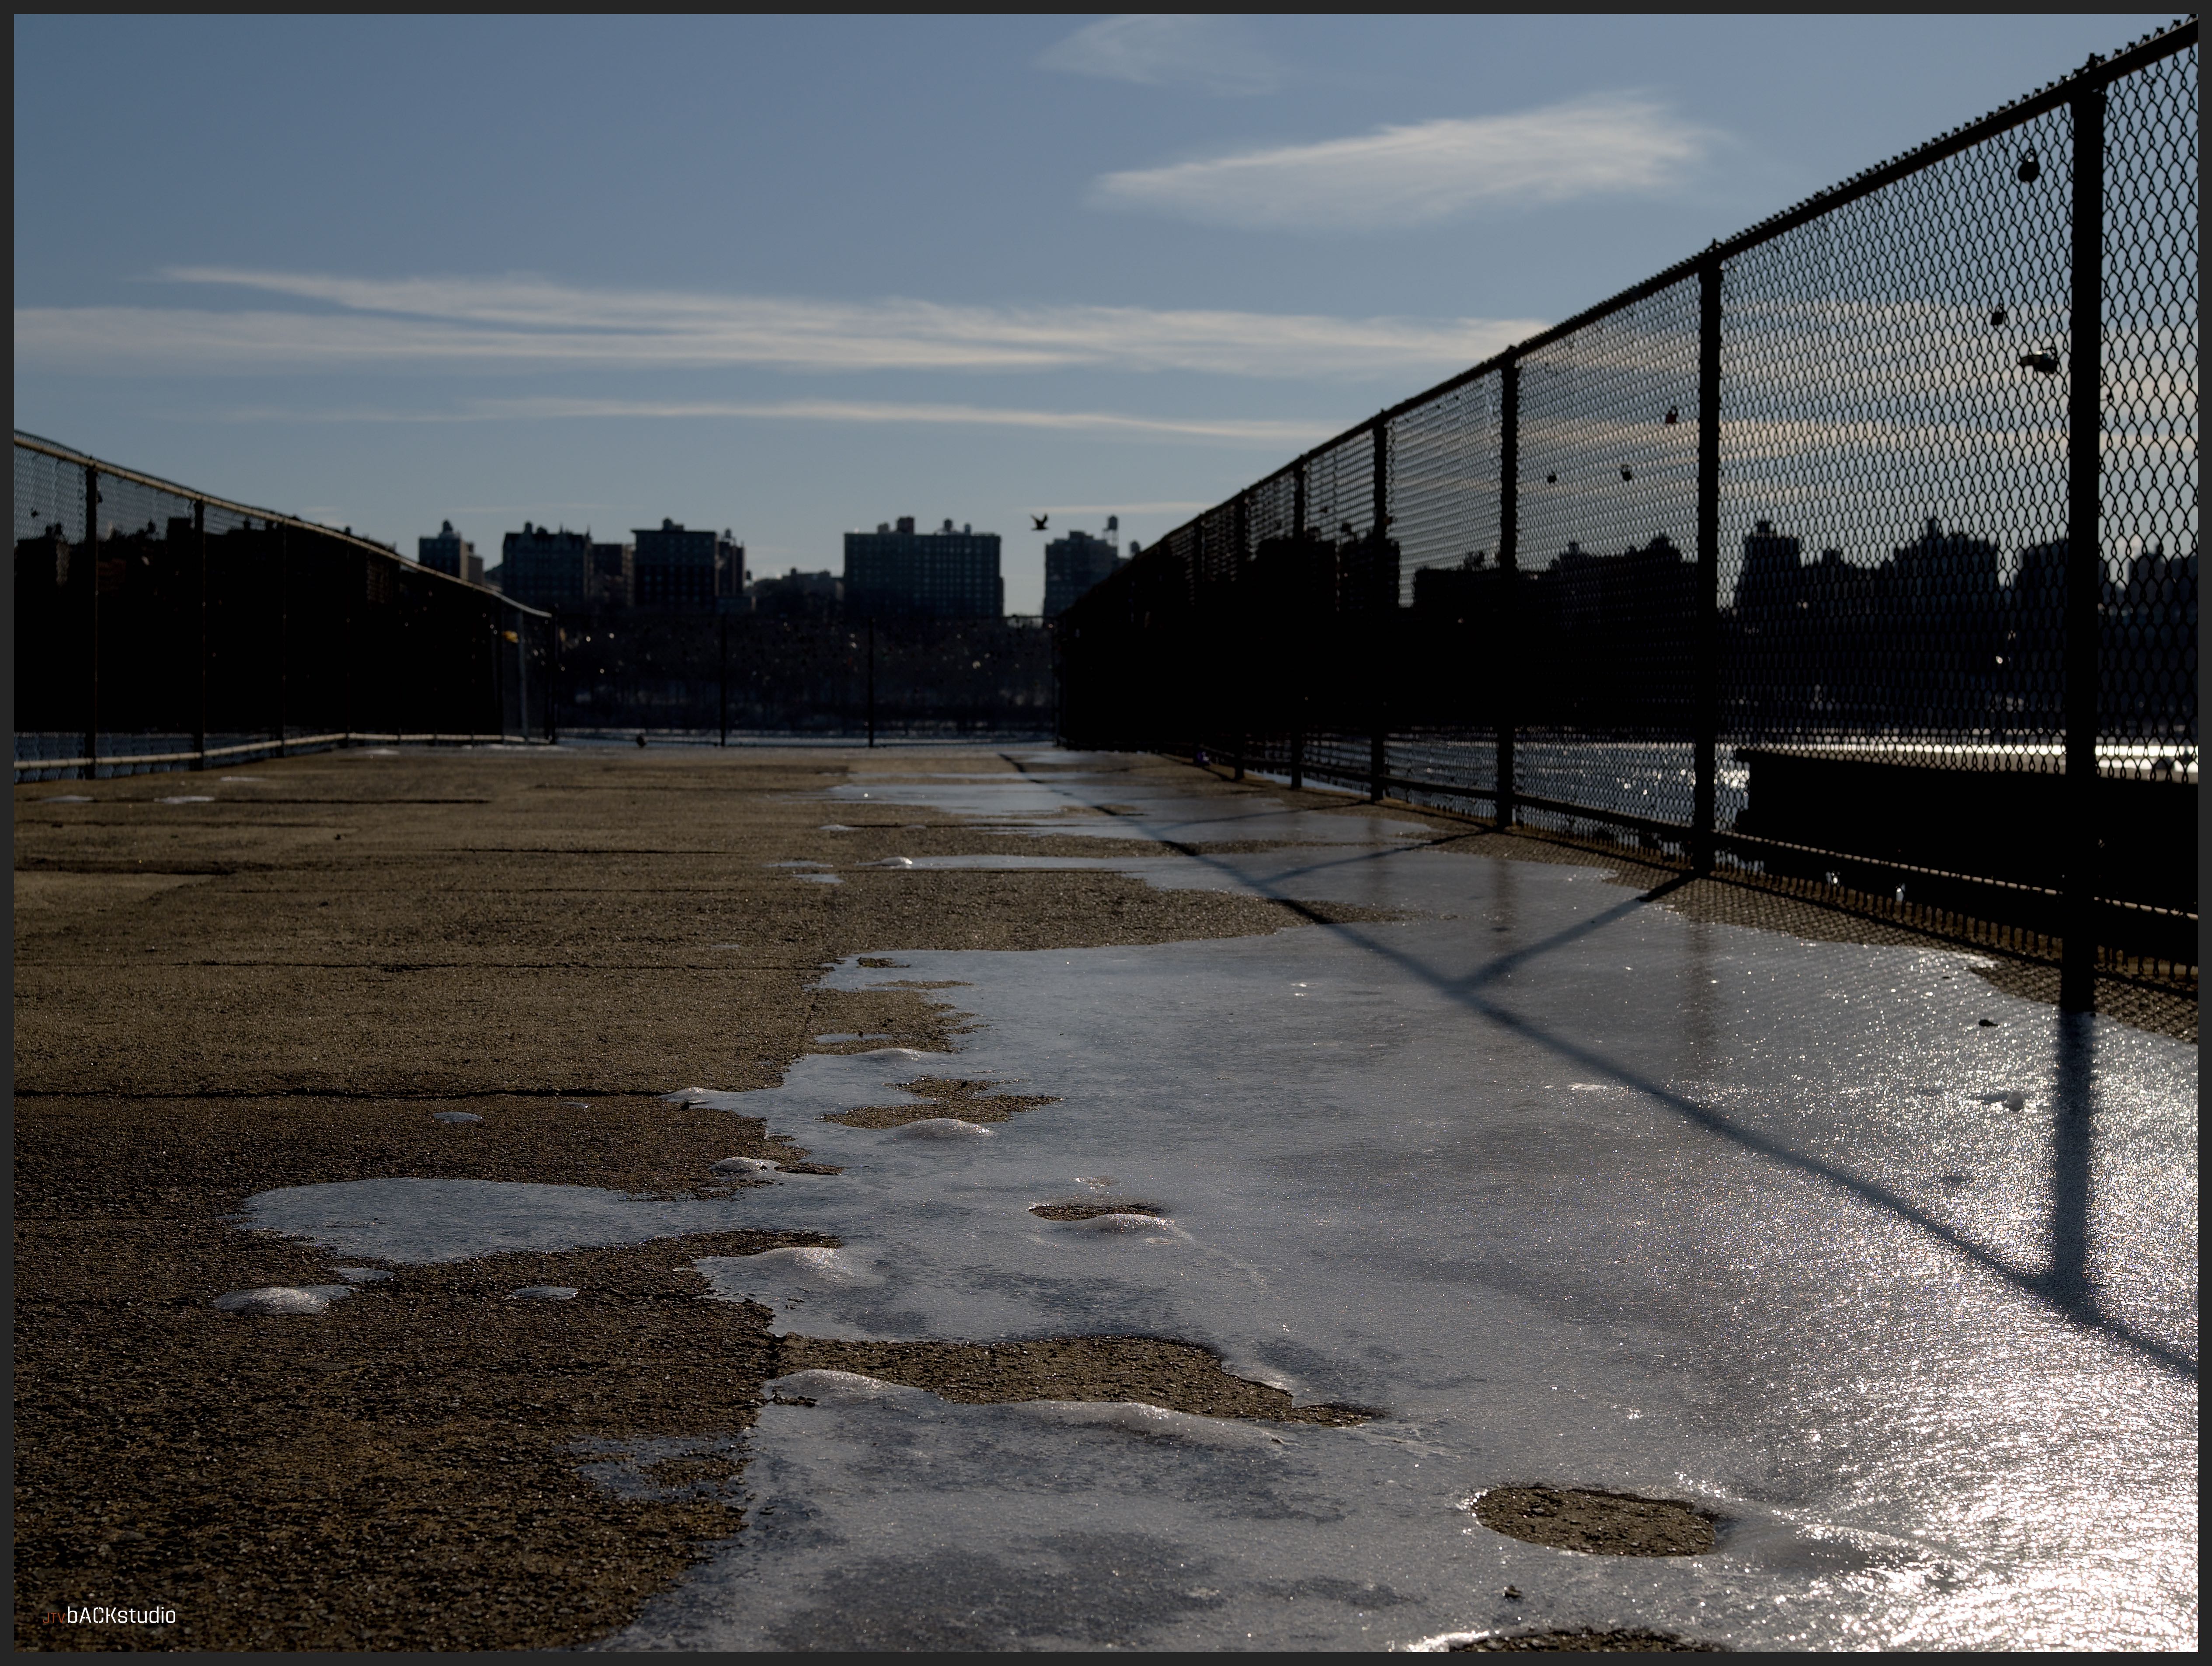
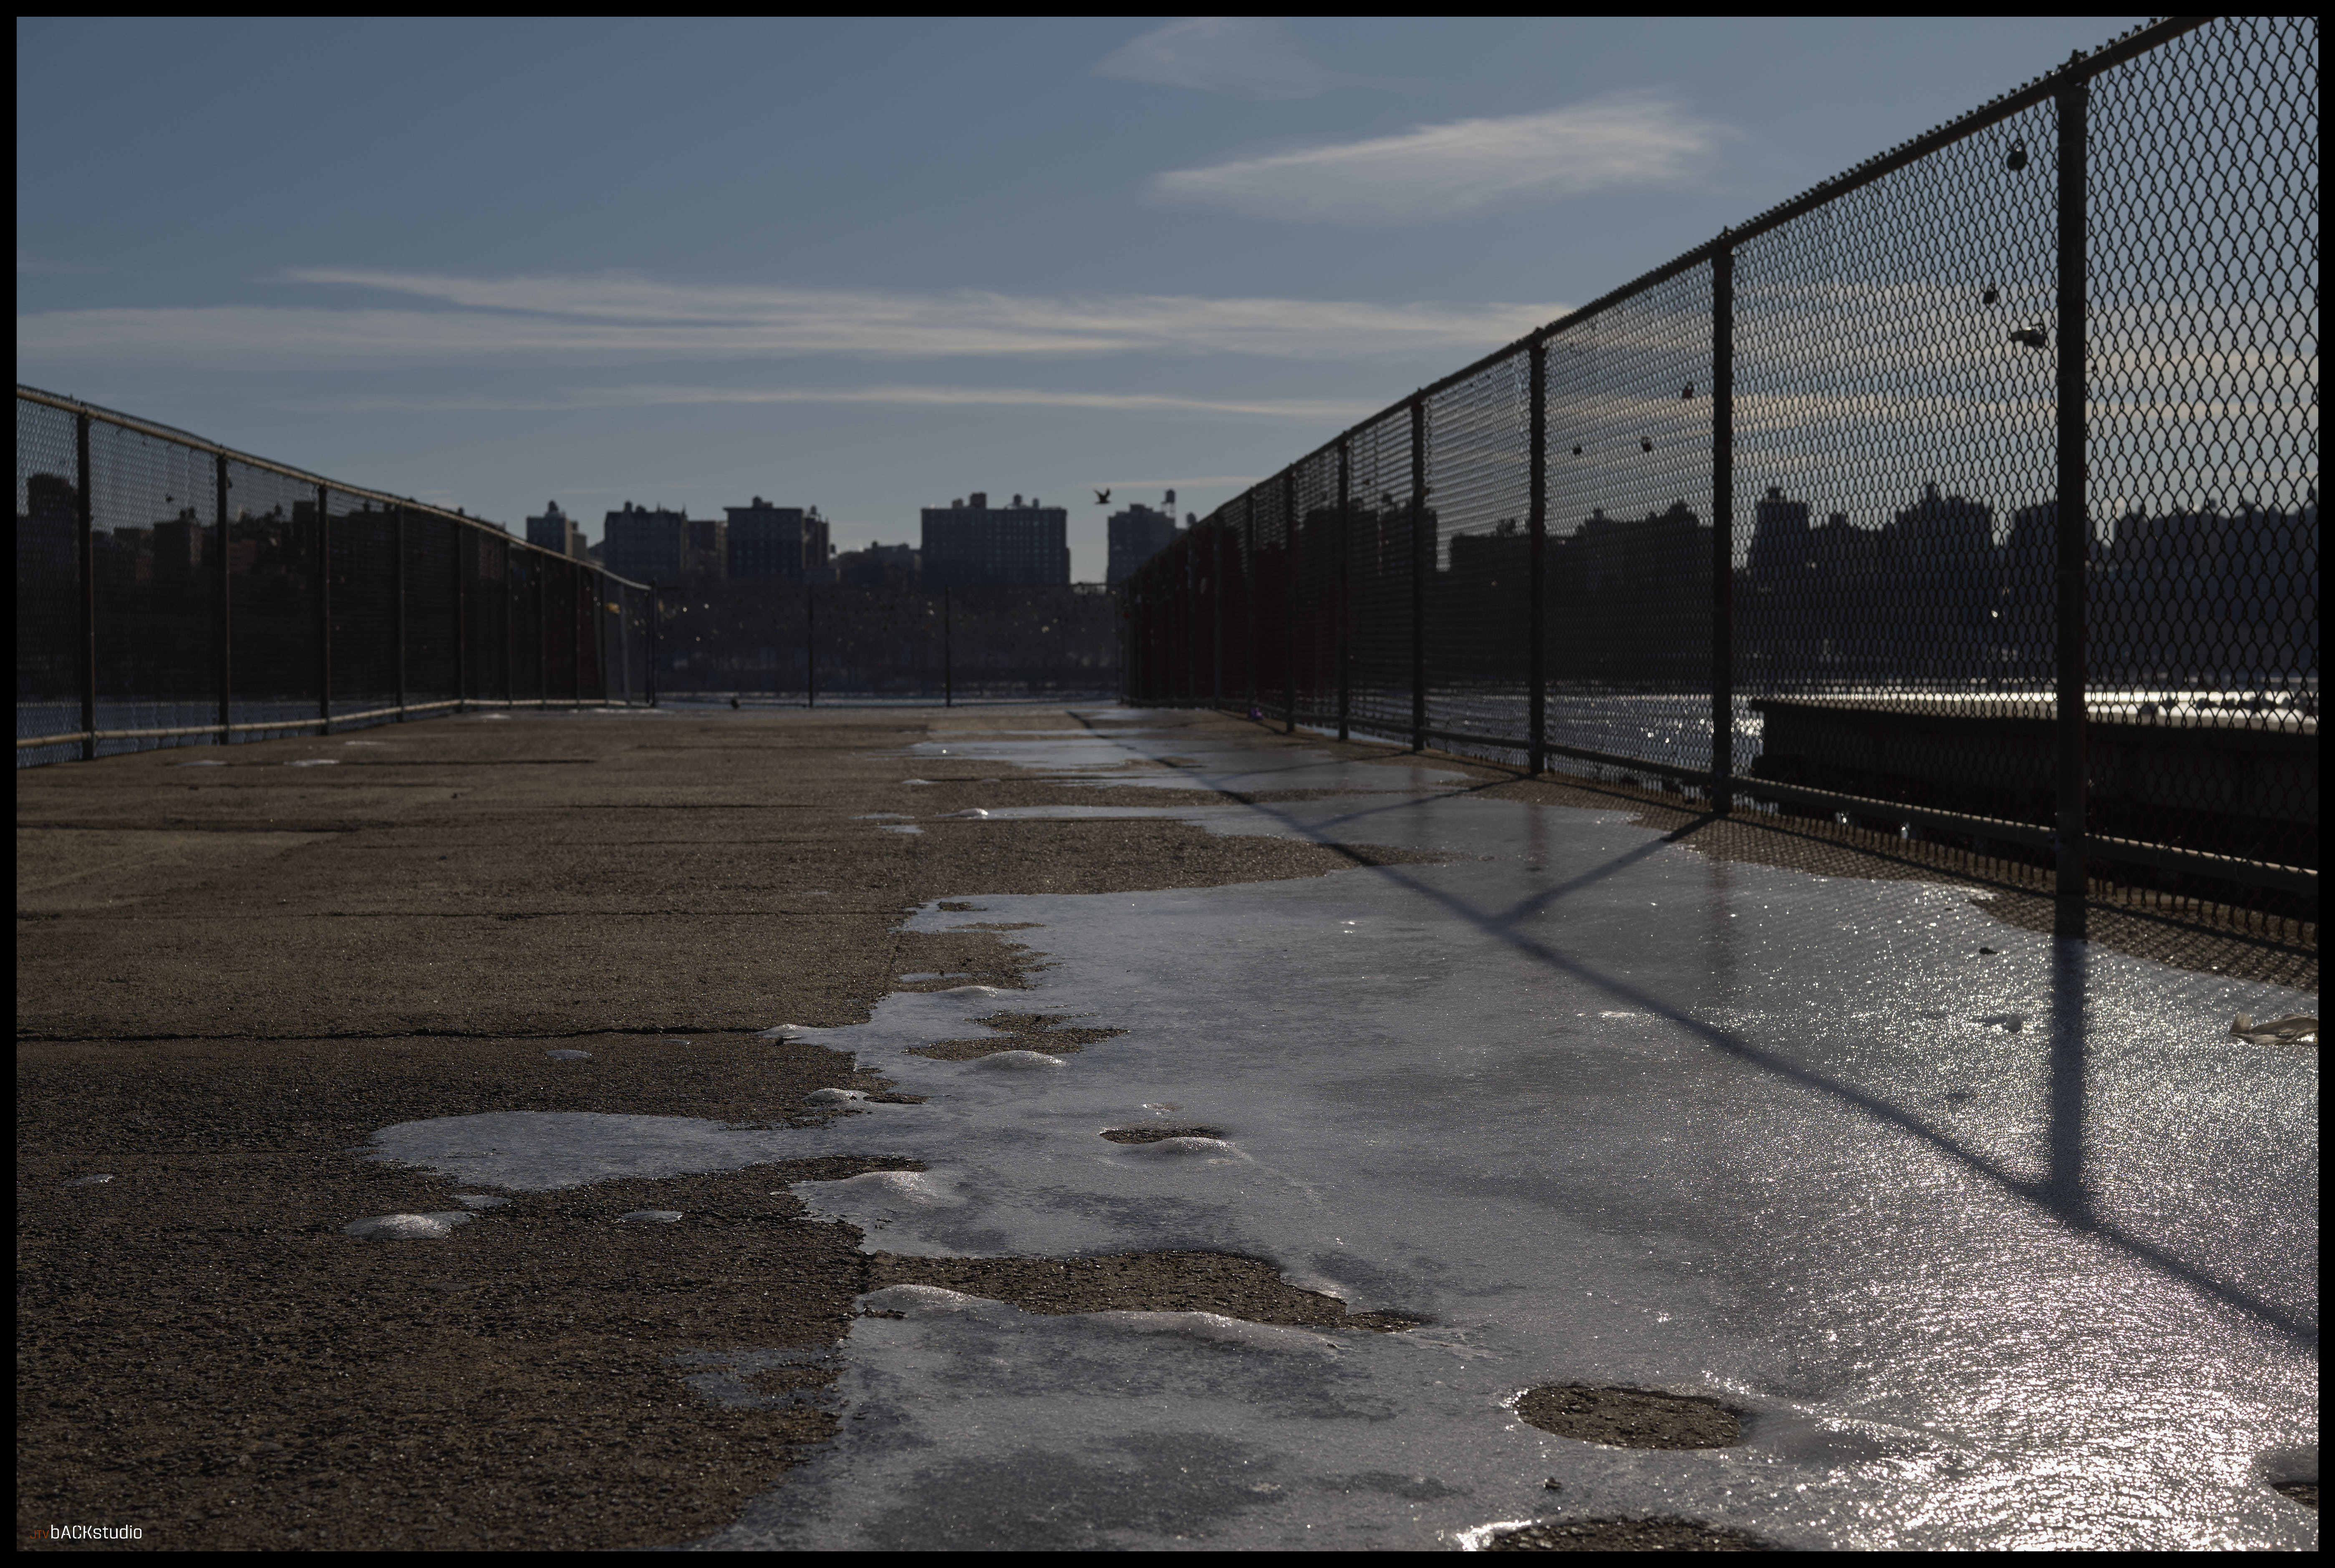
Here are a few other shots using both pieces of software.
I find that each piece of software has its strengths and weaknesses. Photomator adjustments are made quickly and with fewer controls, but their RGB level control is more finessed with 5 point adjustment compared to the C1’s three point adjustment. Photomator integrates into the Apple Photos library making sharing via apps easy, and has the ability to tweak photos in a professional manner without getting into some minutia…with great results. It accommodates, JPG HDR output and reads JPG HDR files if the gain maps include that information (this is both a good thing and bad, depending on many factors-primarily the challenge of JPG HDRs is that the end user looking at the photo must have an HDR compliant display to see them properly). C1 is a very high level piece of professional software designed for RAW conversions. It handles pixel level differentiation very well, creating smooth transitions of color and texture. It also has the unique ability to control RAW conversions on the fly. For example, RAW DNG conversions can be processed at a basic level before tweaks through a Linear Response filter, DNG Neutral filter, DNG Tone Mapped filter, and three Film filters to align better with the tonal shadings and dynamic ranges of film processing if that’s your thing; all of which can be applied after your tweaked adjustments, giving you greater level of control and experimentation.
Enough about this boring stuff, time to get out and shoot.
SNAP SNAP SNAP SNAP SNAP SNAP …
42 of them in one hour.
Rush home.
Plug in the camera.
Did I really buy this thing? What was I thinking?
Big bust.
There are days I wonder why I try.
This is one of them.
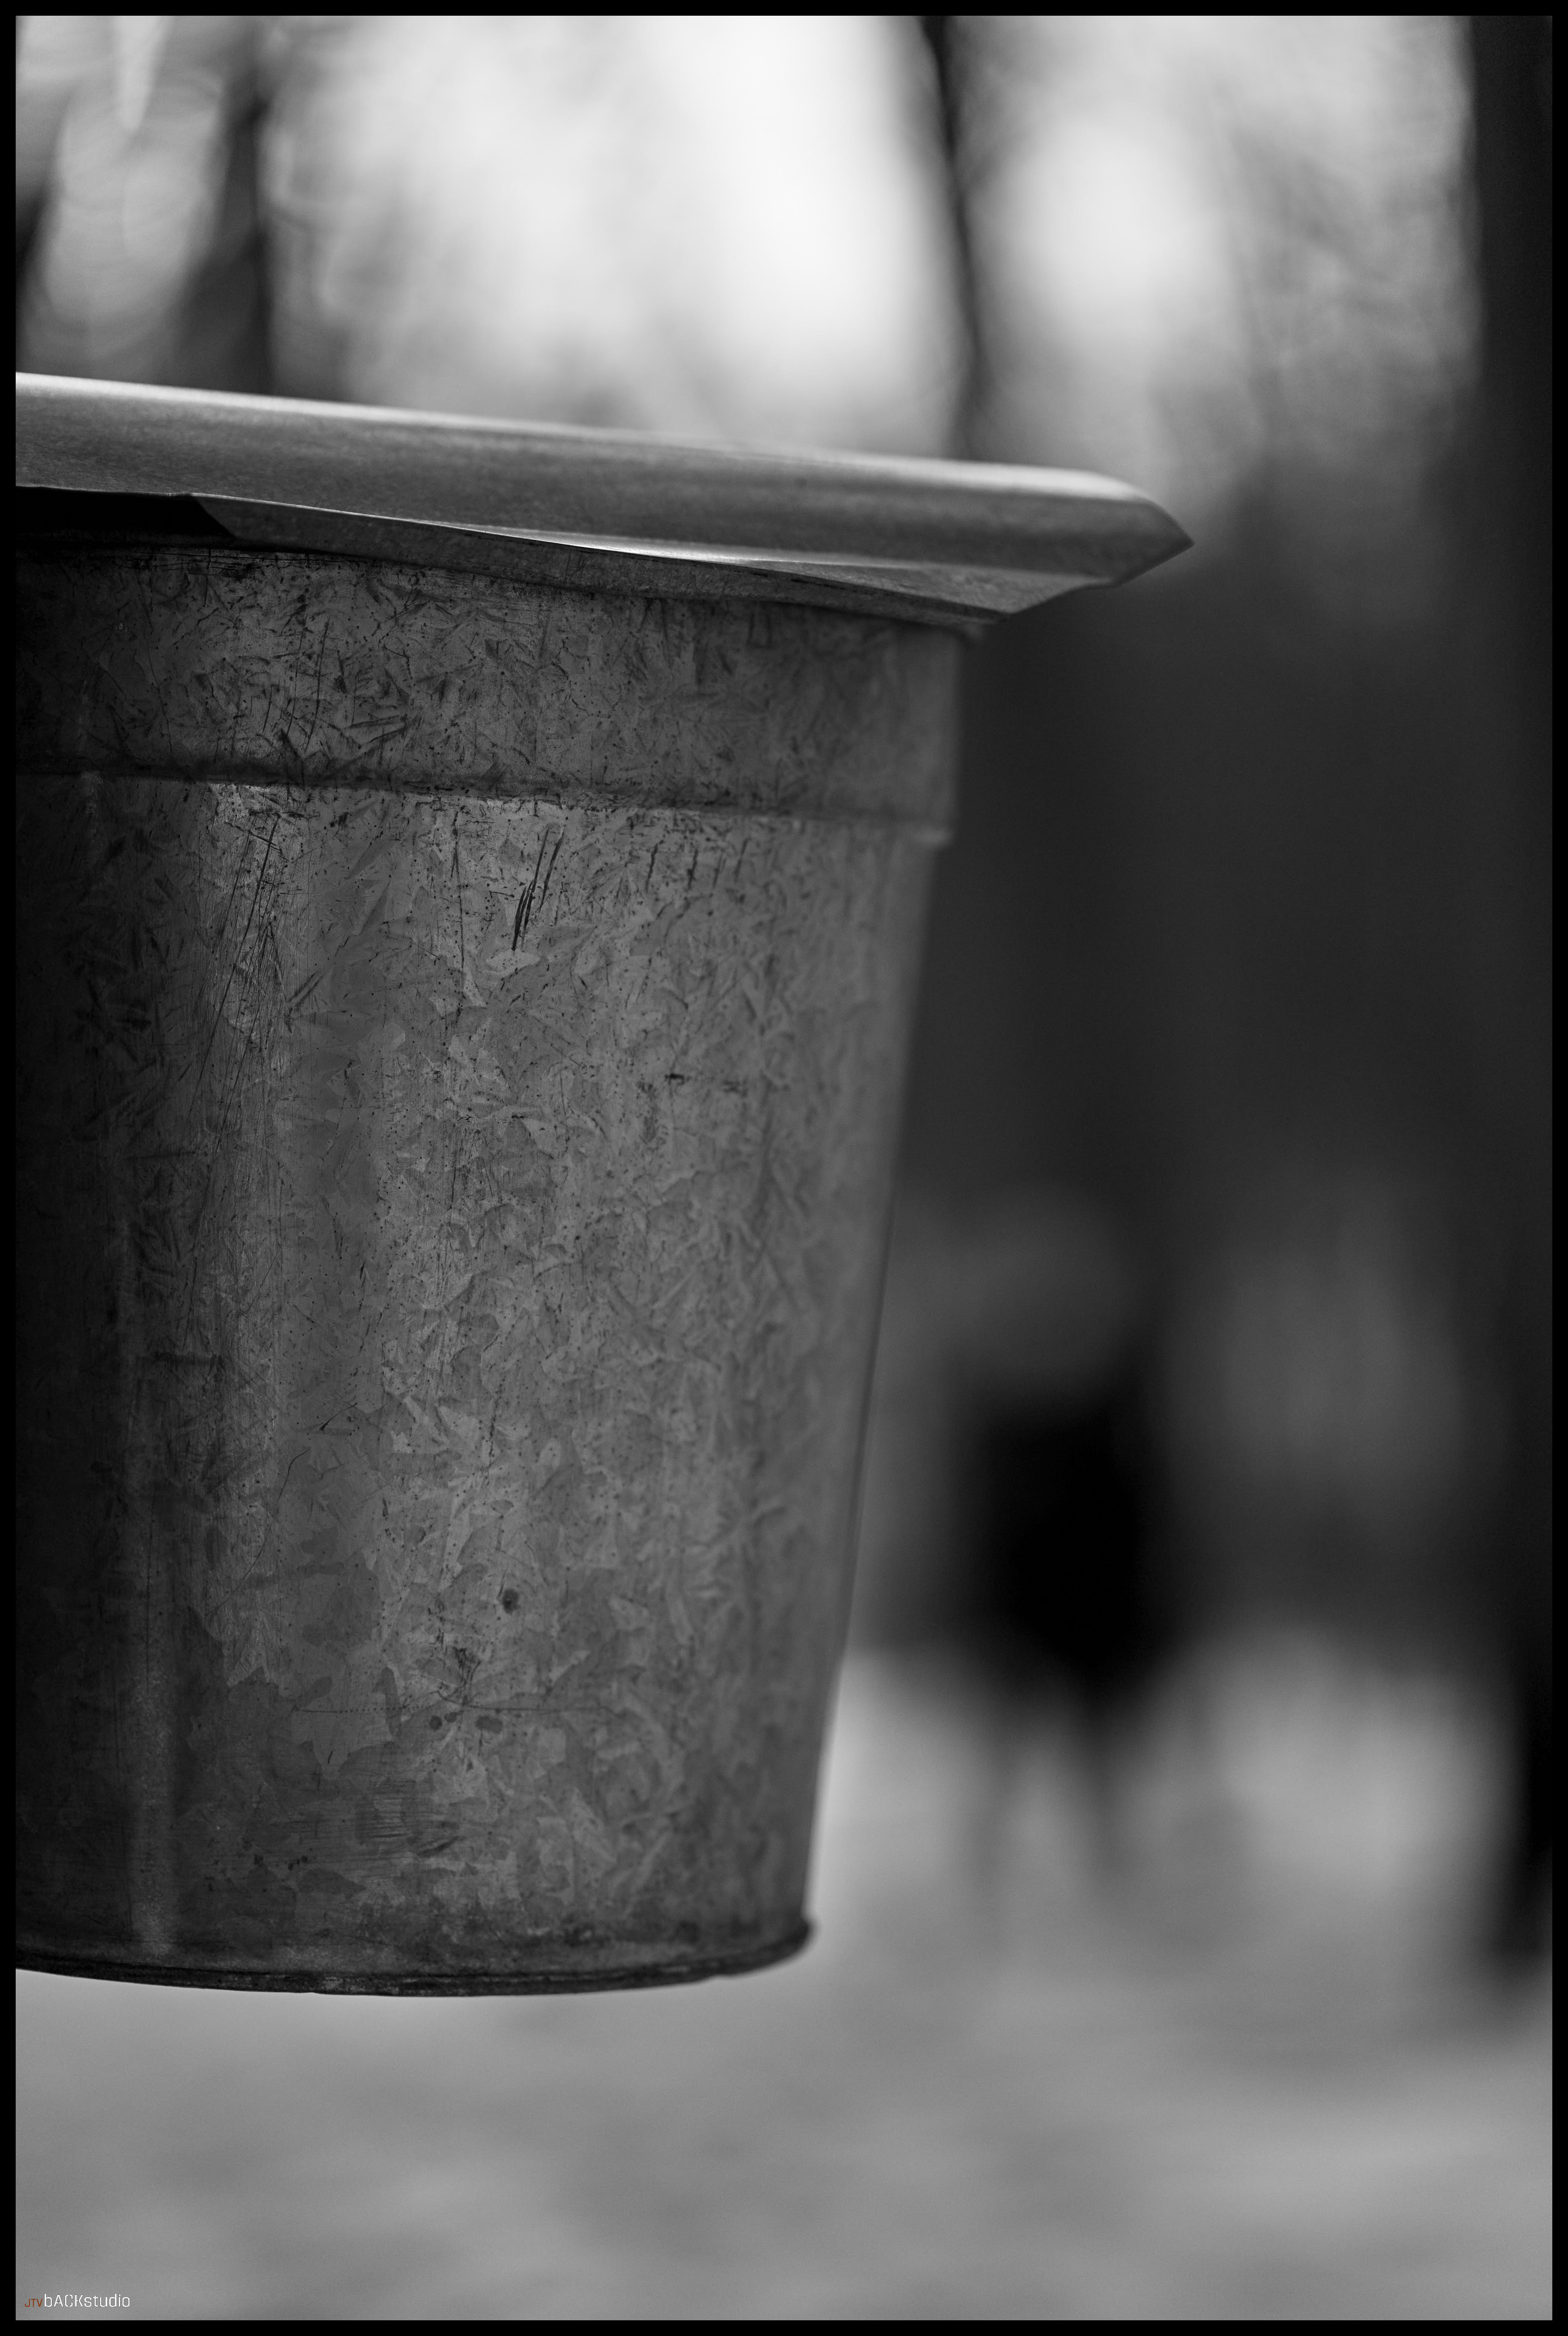
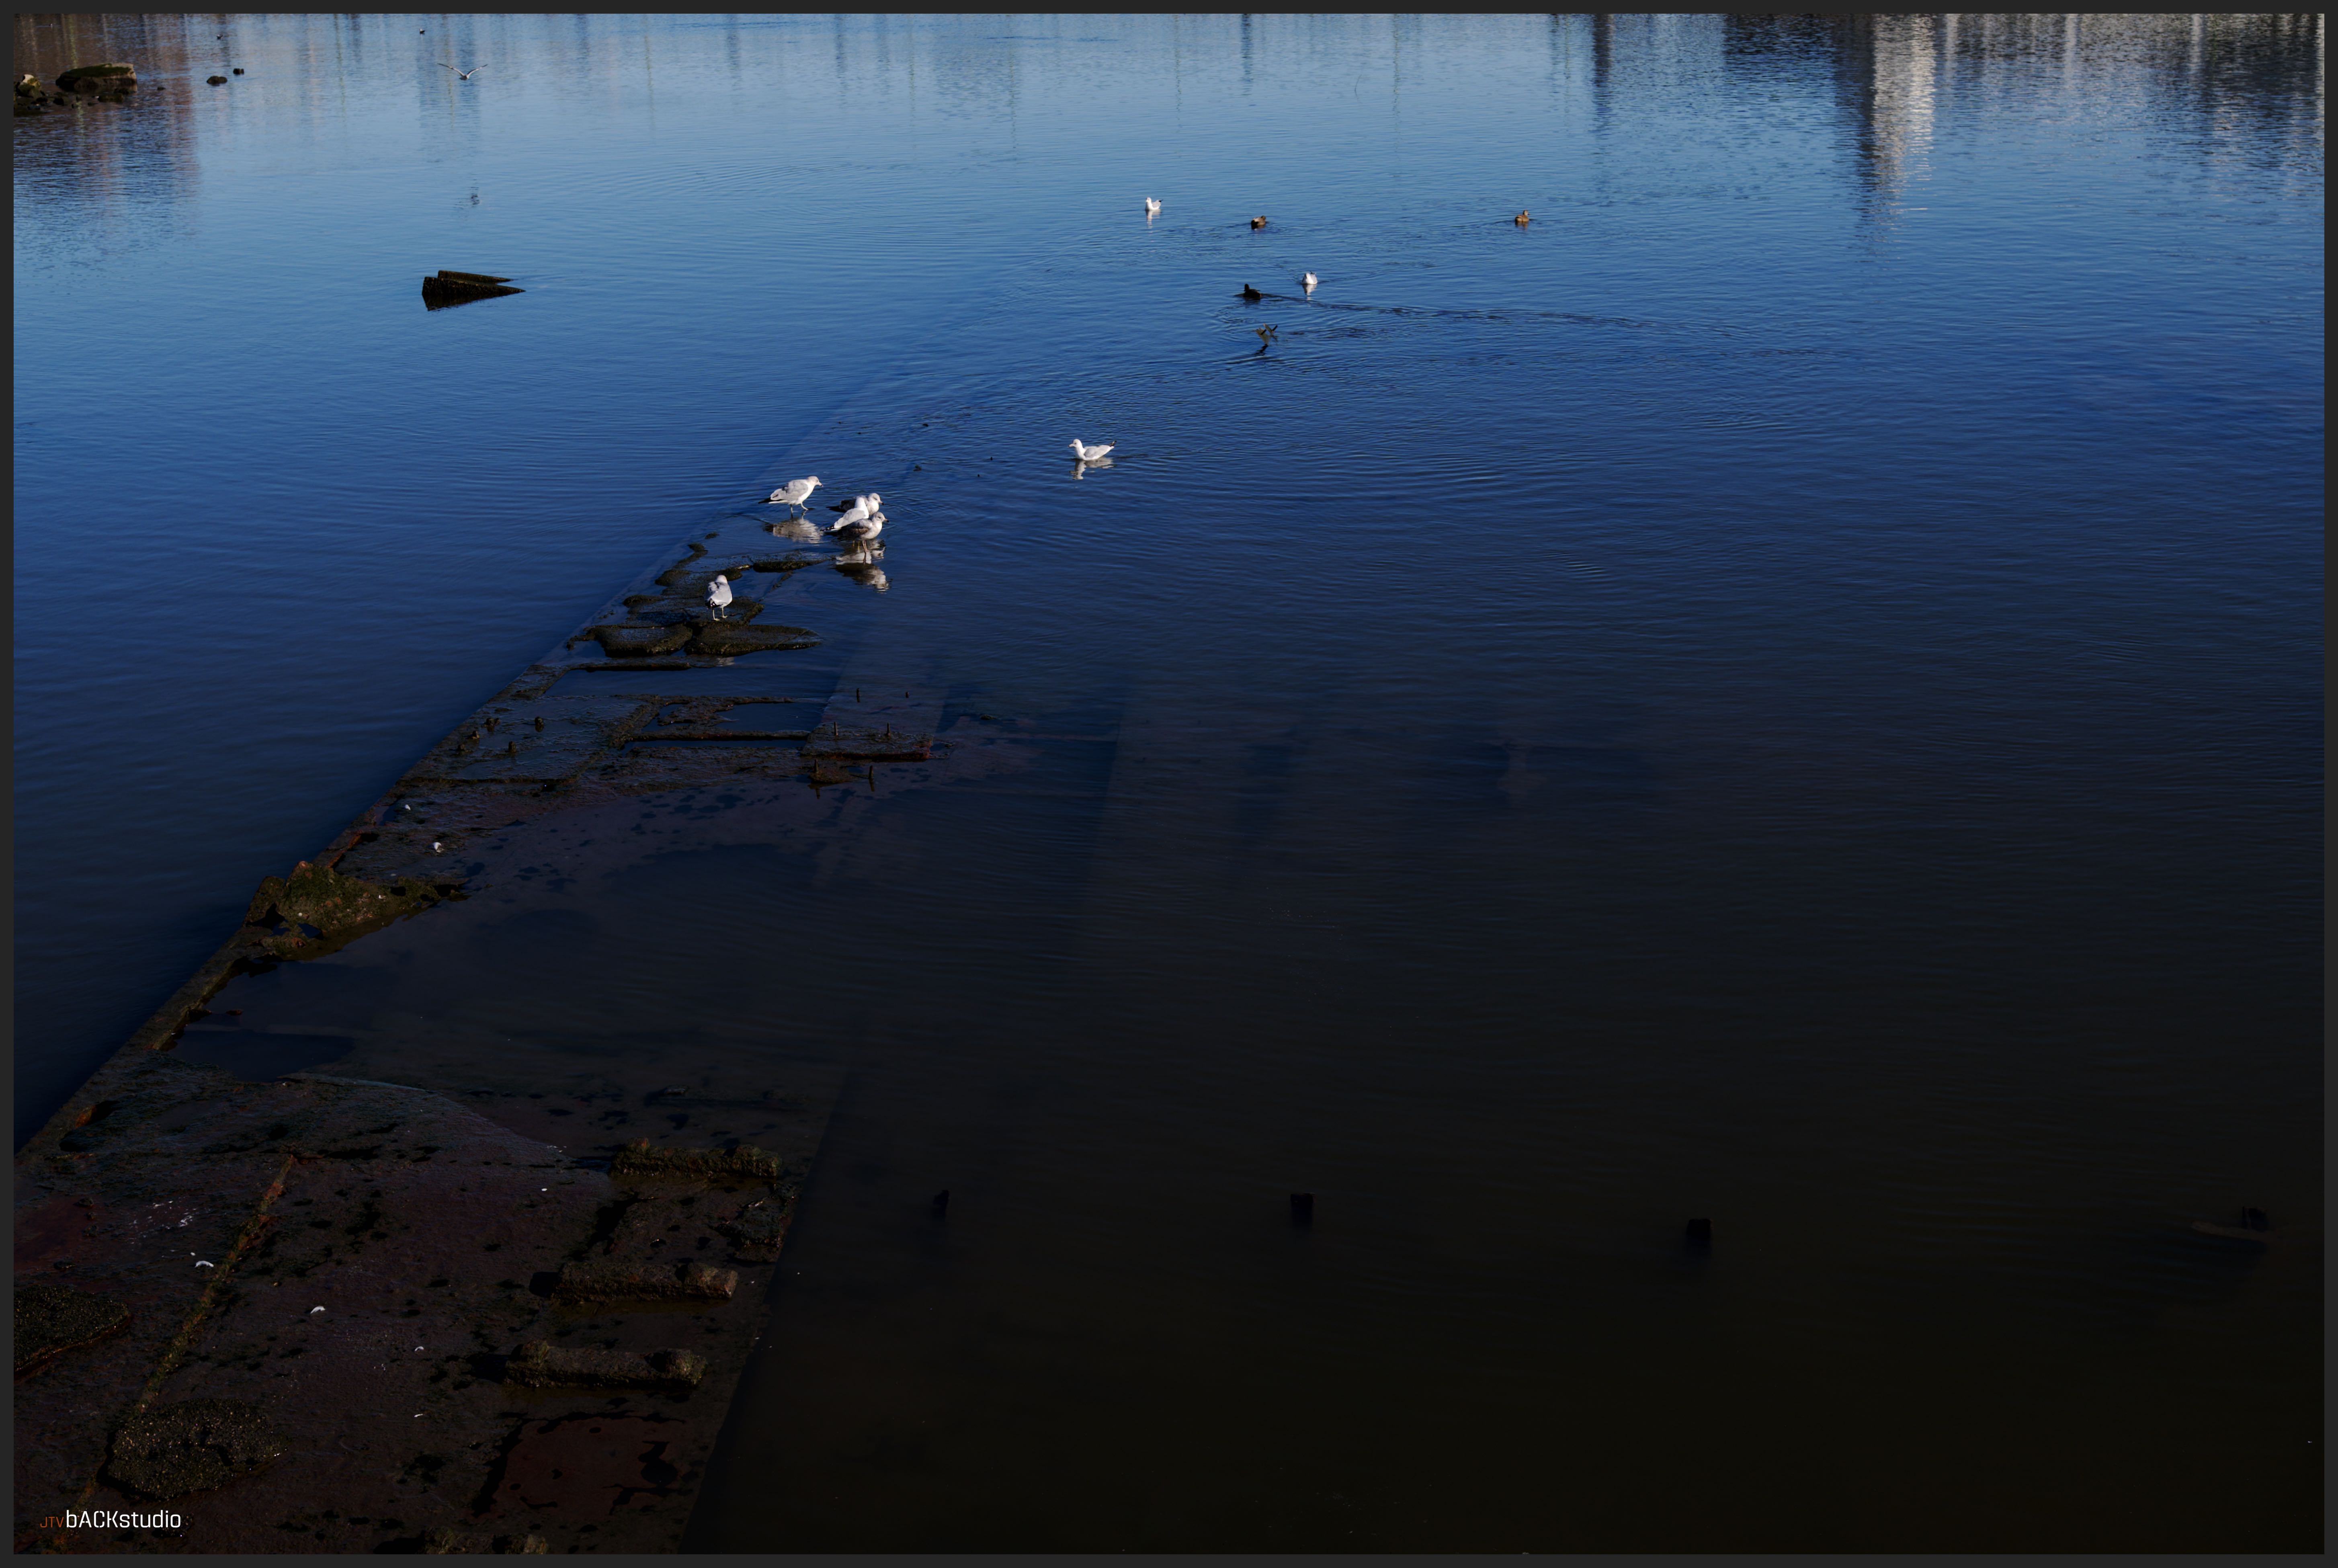
This was in a County preservation area/park. I guess they are collecting maple syrup. Who are “they?” The County Maple Conglomerate? This is New Jersey, not Vermont.
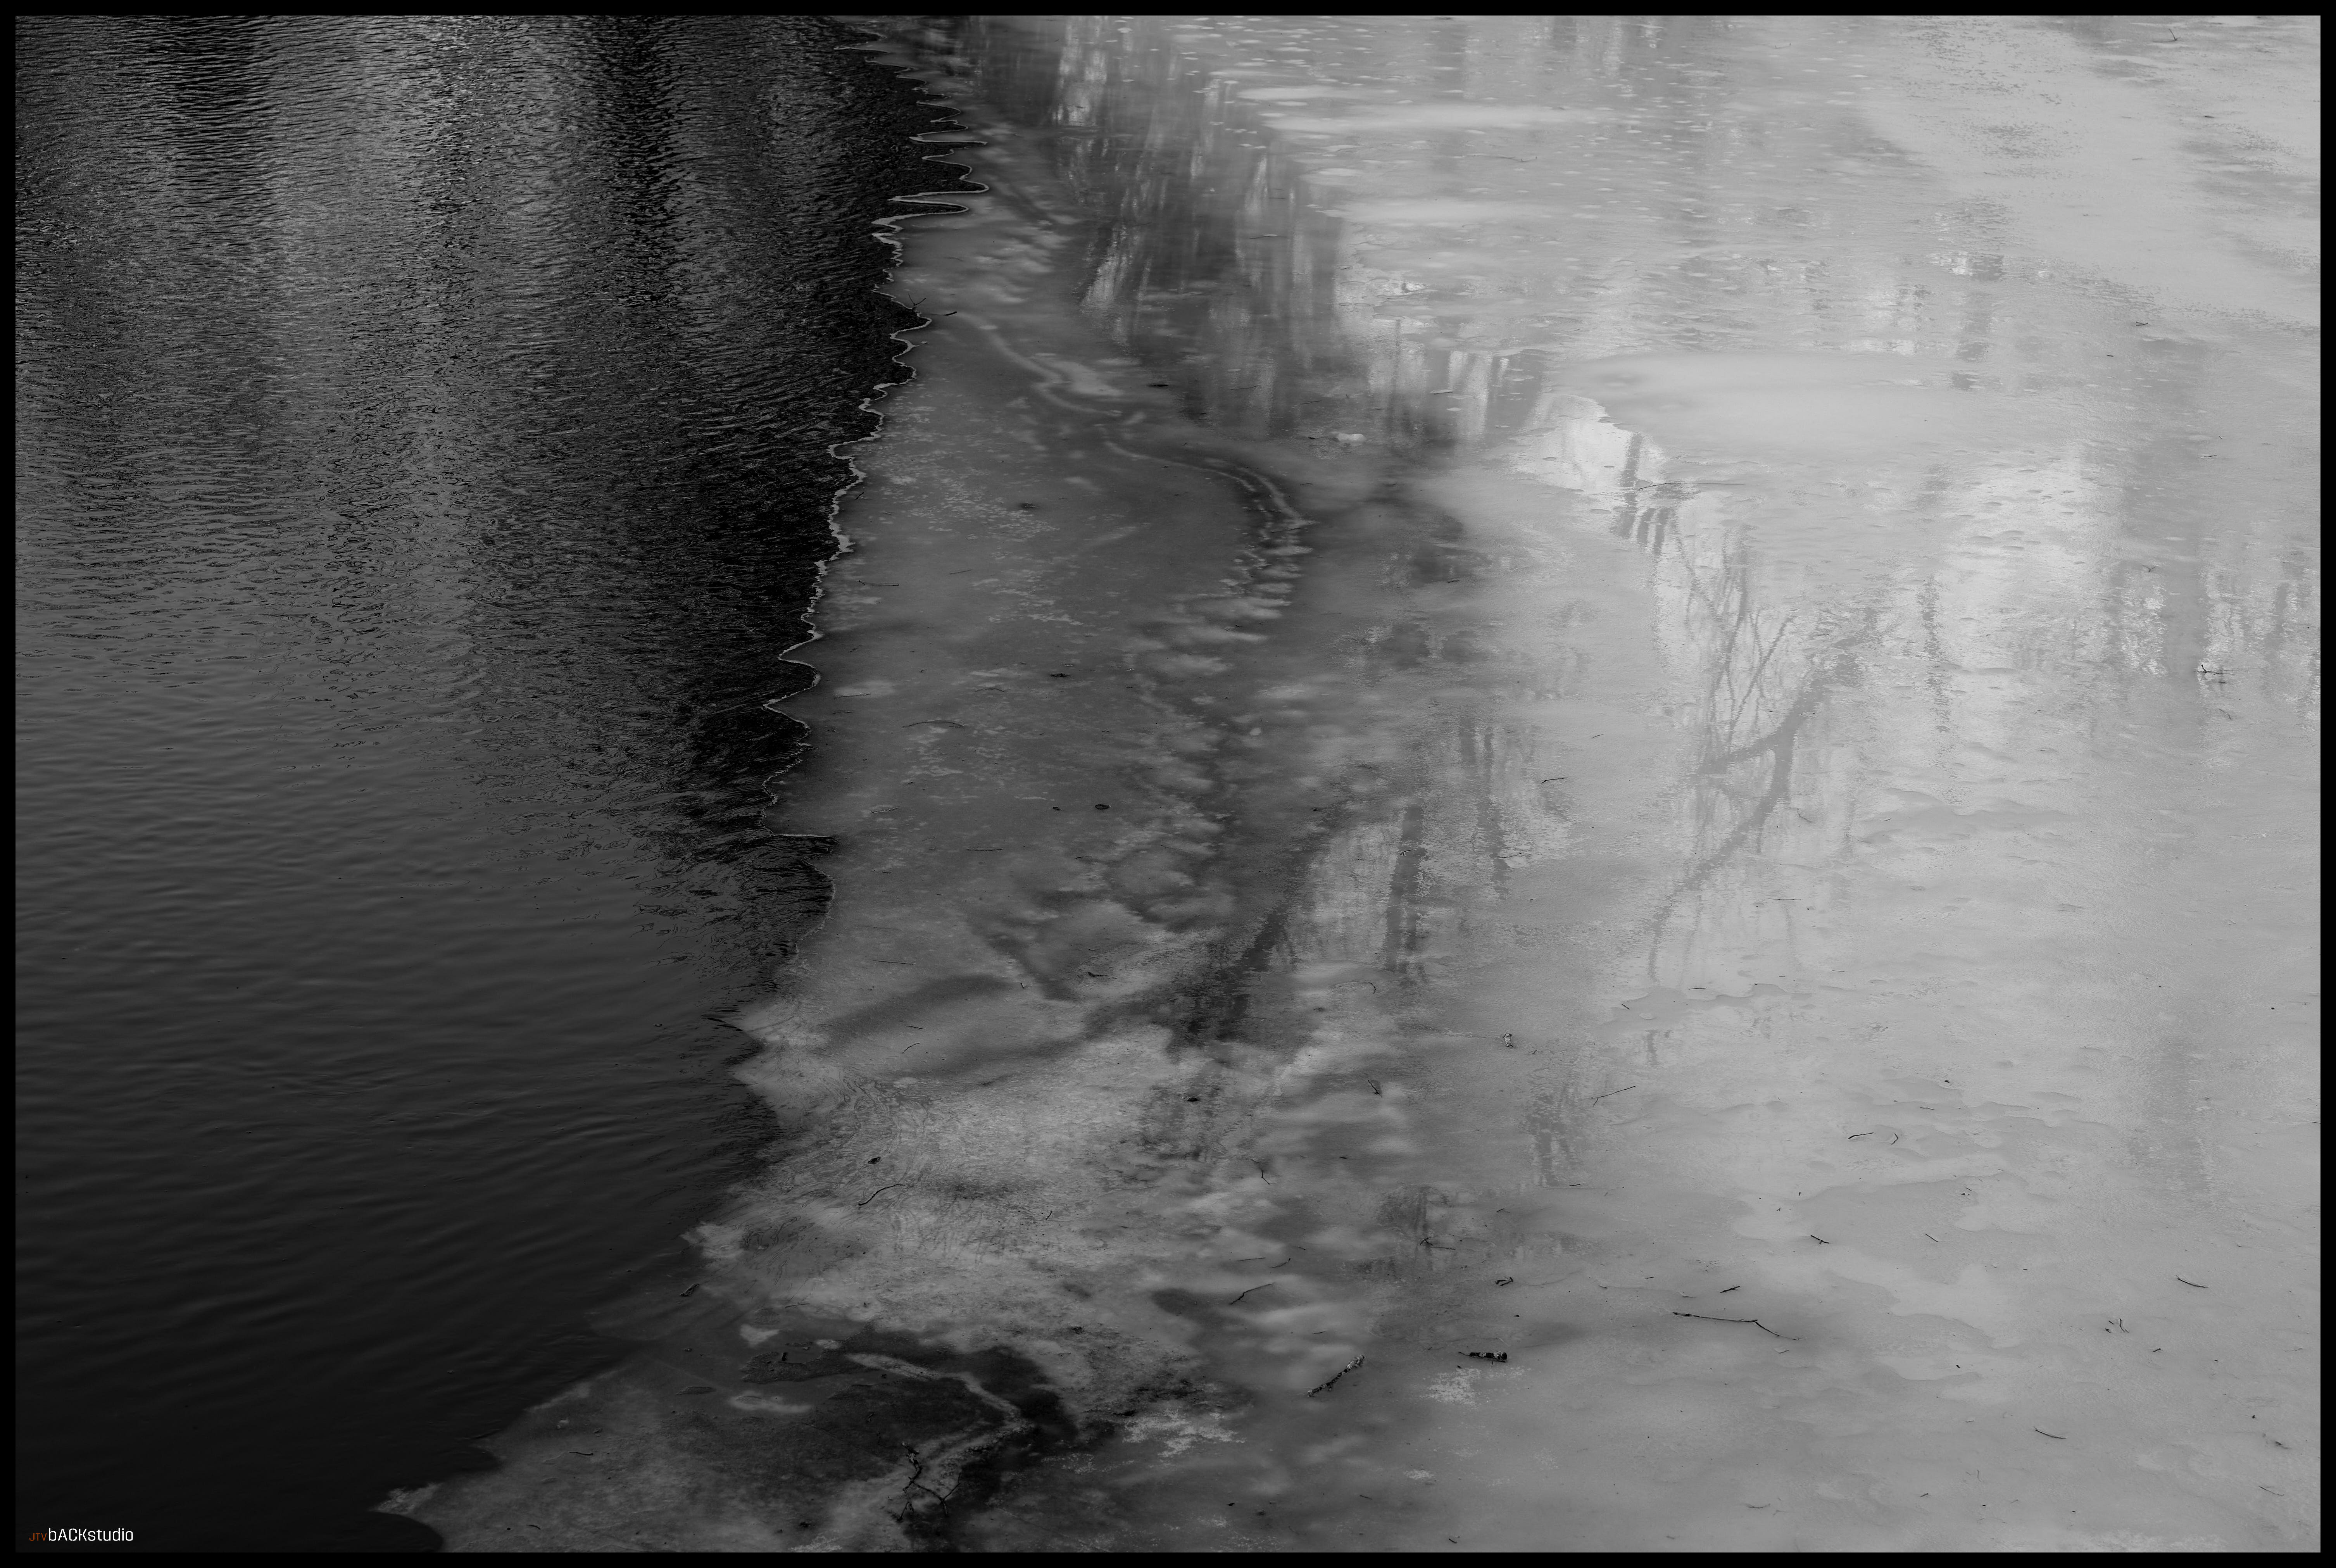
Yeah, it’s ice. It isn’t particularly lovely ice.Certainly not drinkable (this river, fished by many a trout fisherman, is contaminated to the hilt – I don’t ask questions).
I split the frame. Tried an abstract. Yawn.
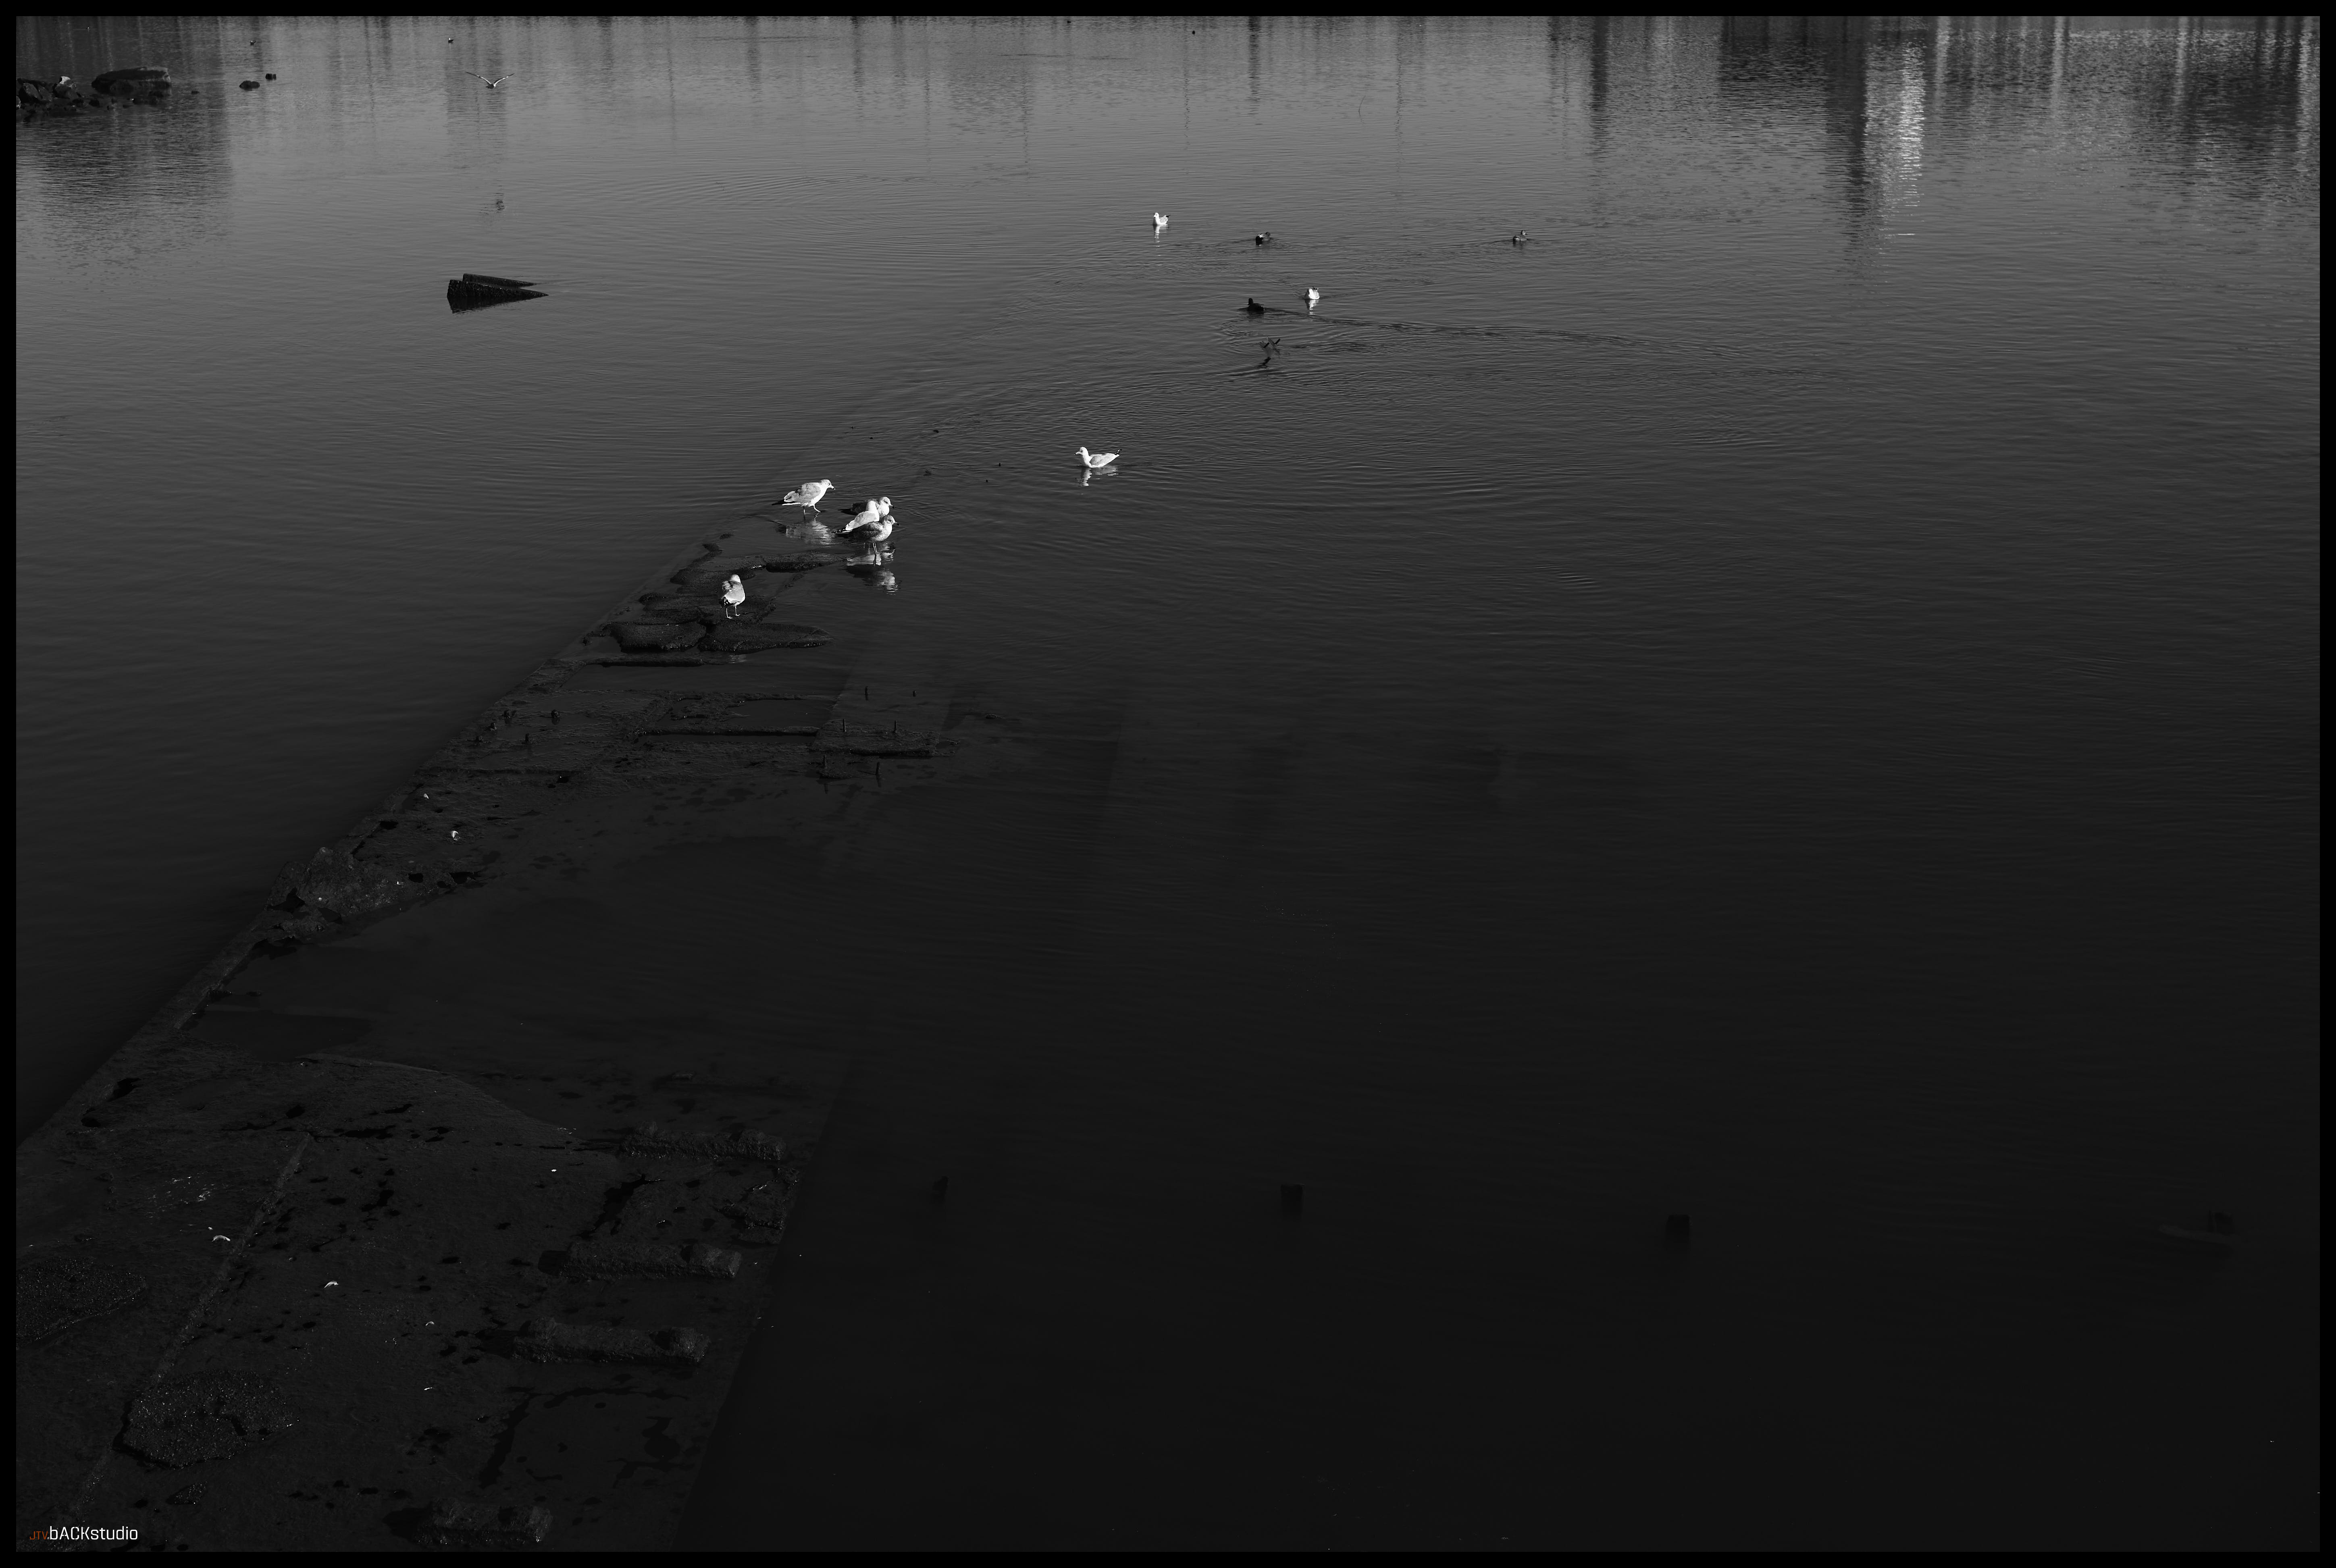
Finally:
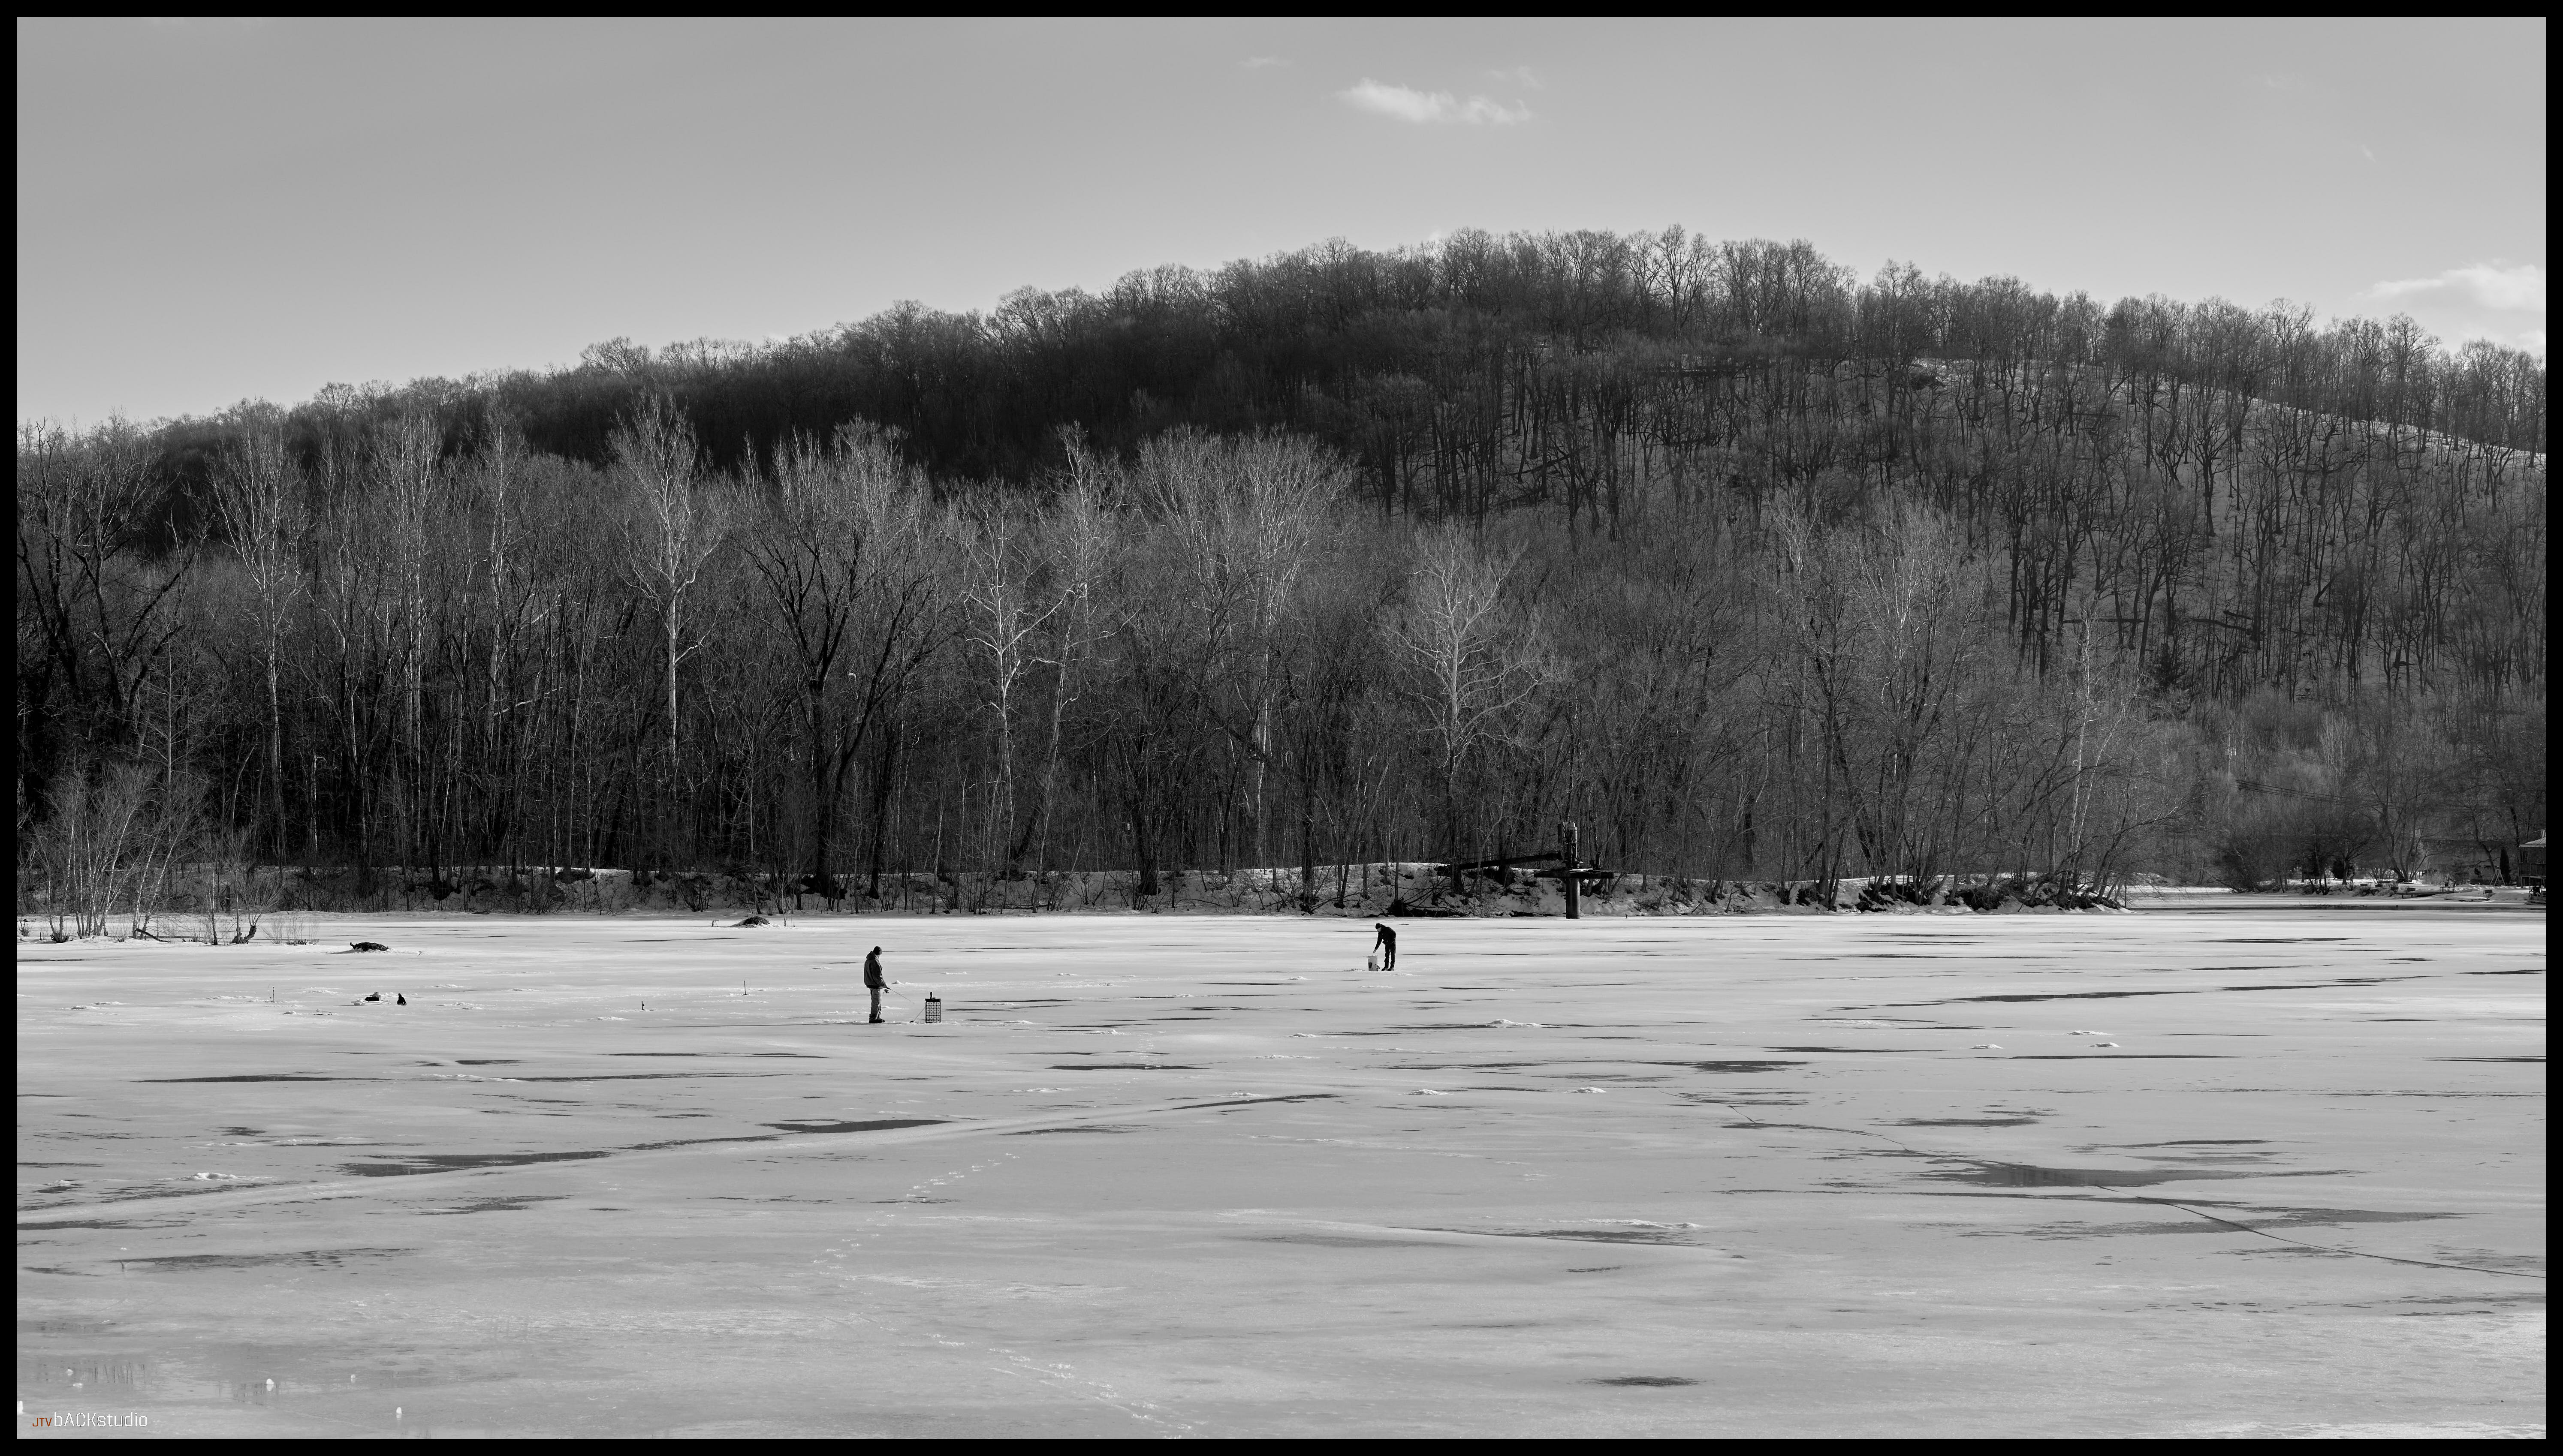
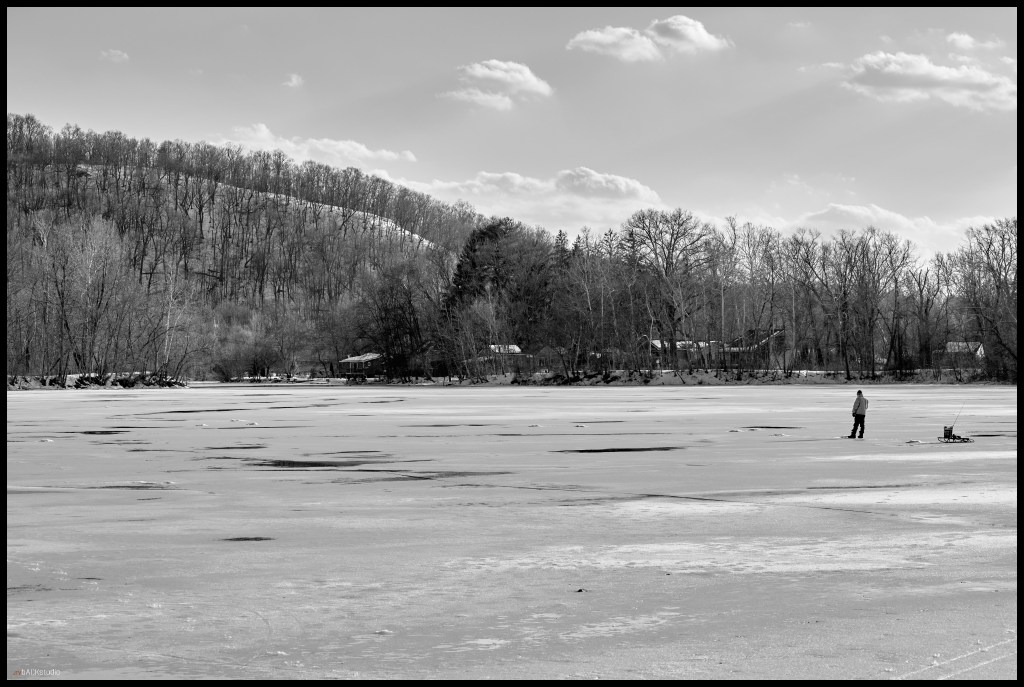
Guys fishing on ice. It’s 50d F. Obviously I know nothing about ice fishing. Maybe less about fishing in general. I just eat it raw, as in sushi…sourced from a place I’d rather not sea…(intended).

Leave a comment